Discover ways to make your individual racerback tank high with this easy stitching tutorial. Good for decent summer season days or a exercise on the fitness center.
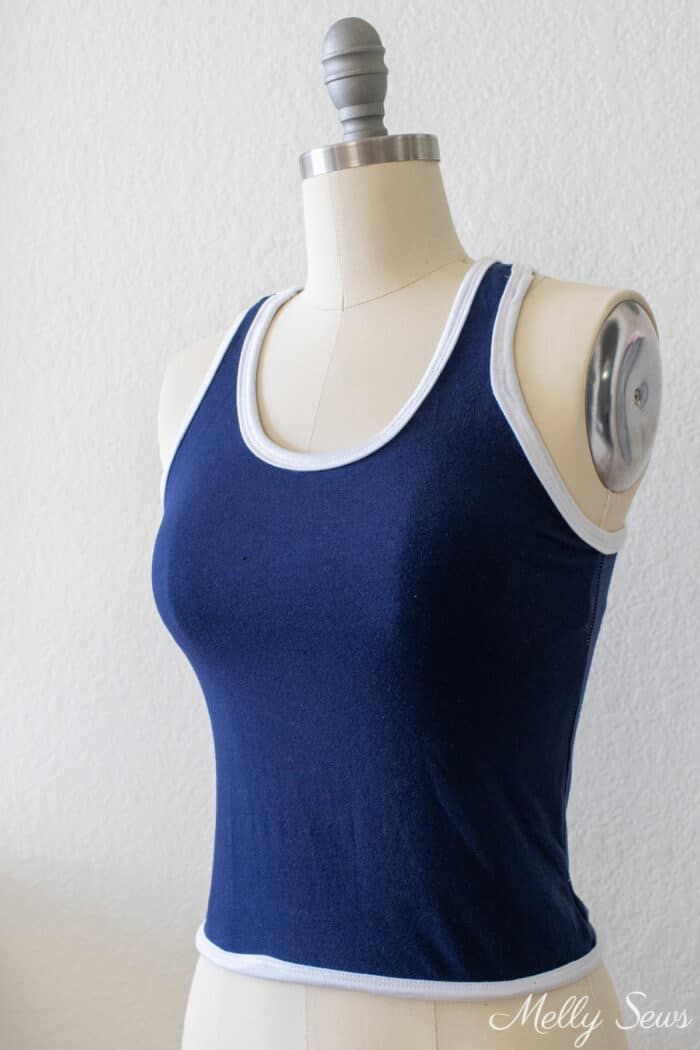
Hey y’all, immediately I’m going to indicate you sew a racerback tank high that features an non-obligatory shelf bra utilizing a free tank stitching sample. I personally like this model to sleep in. The delicate help of the shelf bra is snug with out feeling restraining.
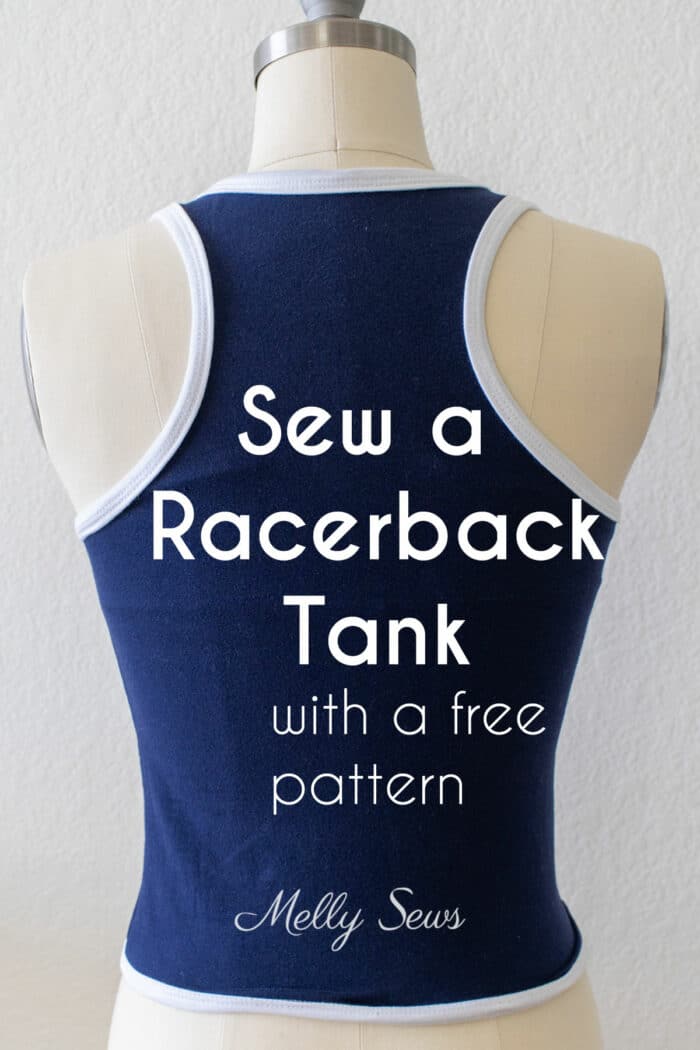
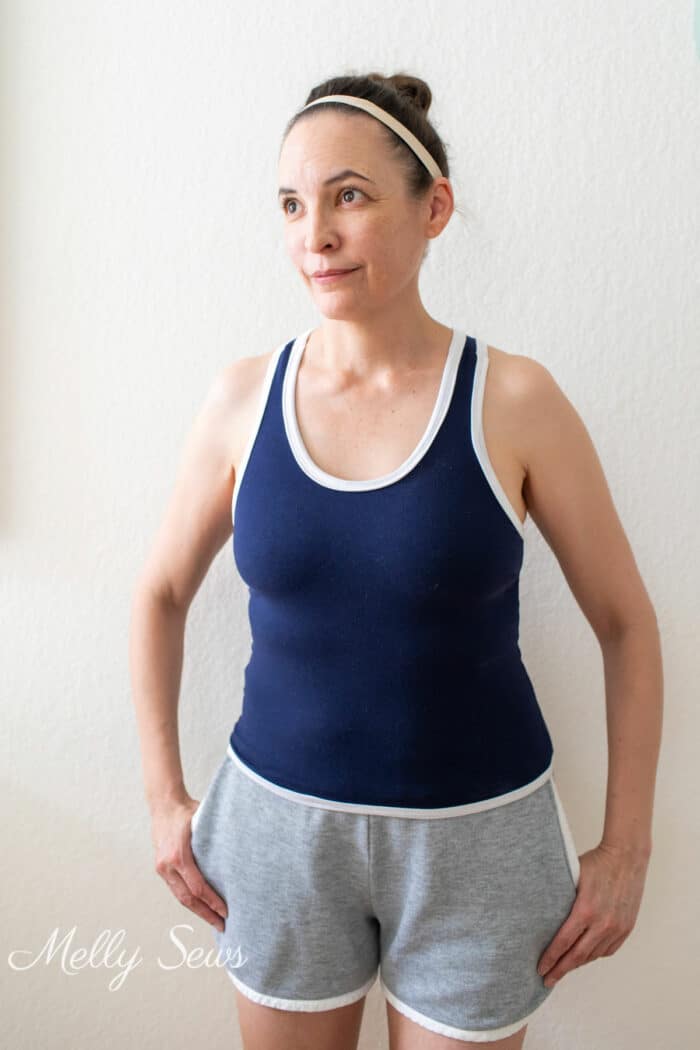
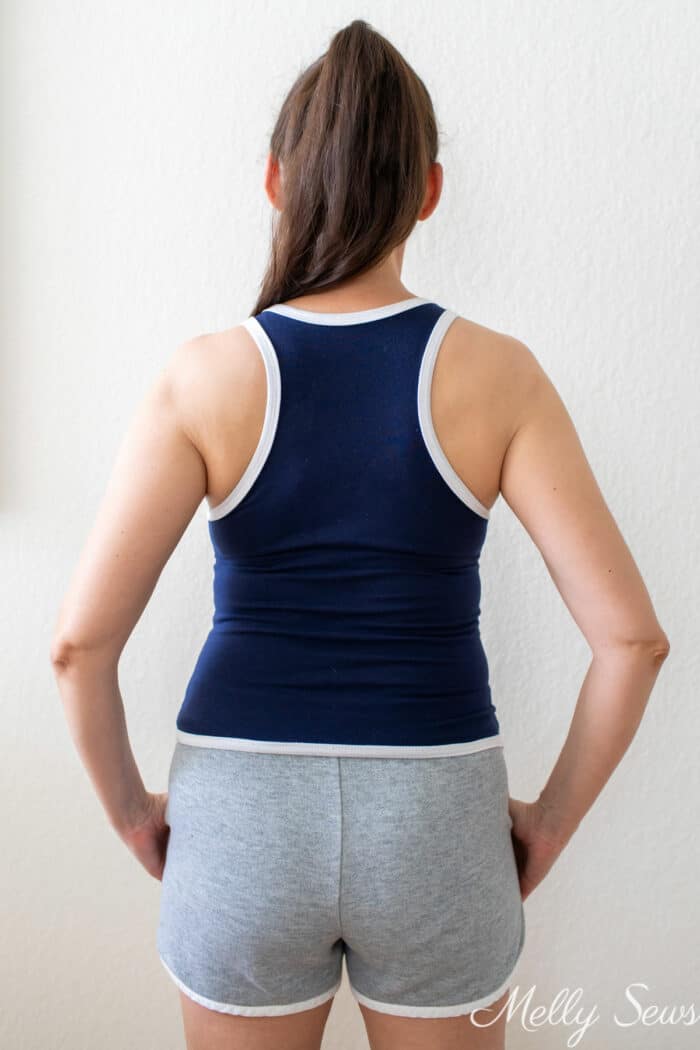
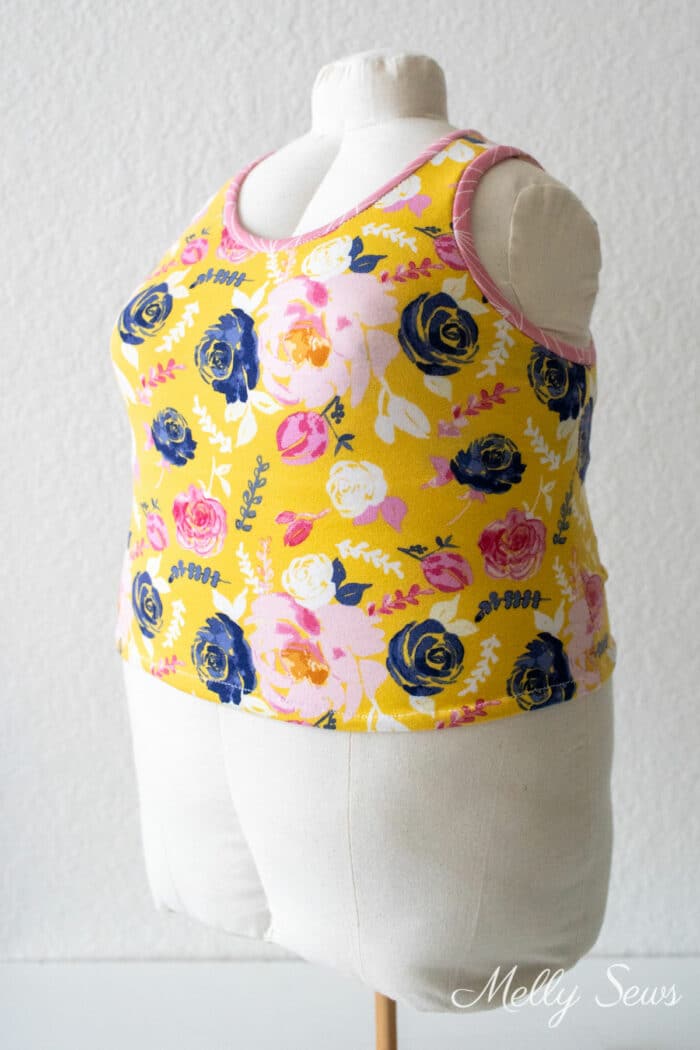
As a result of a racerback tank has bigger armholes, it doesn’t limit arm movement. That makes this model nice for train. I additionally like that you may add contrasting bands on the neckline and armholes like I did on the pattern I sewed up for myself.
Supplies Wanted
If you happen to’d prefer to make your individual racerback tank, listed here are the provides you’ll want:
- Knit cloth. This design has adverse ease and works greatest in a stretchy spandex mix. I choose cotton spandex because it has higher restoration than rayon spandex and it’s extra breathable than most polyester spandex. You’ll want 1 yard of 58 inch vast cloth. Add one other 1/2 yard if you wish to add within the shelf bra. If you would like contrasting bands, then you definately’ll want 1/8 yard for them when you can lower very rigorously. If you happen to aren’t assured in your slicing get 1/6 of a yard.
- For the shelf bra you’ll want 3/4″ plush bra band elastic (affiliate hyperlink), 25.5 inches for the dimensions small and 50 inches for the dimensions 5X
- Stitching machine and primary notions – pins, needles, thread, and so forth.
- the sample, see subsequent part.
- Non-obligatory – if you’d like the shelf bra to be extra supportive, baste a layer of bra mesh to the incorrect facet of the shelf bra cloth sample items.
Word that you simply don’t want a particular stitching machine to make this, you may sew stretch stitches so long as your machine can do a zig-zag sew. Right here’s a publish with extra about stretch stitches.
Easy methods to Get the Sample
To get this sample, you should both be a free publication subscriber or have bought a gallery entry go. Then click on your most popular choice from the buttons under. Current publication subscribers ought to have a look at the underside of the newest Friday publication for the present free sample gallery password. If you happen to bought the all entry go you’ll log in to your store account to obtain the sample. Word that the free model of the sample doesn’t have printable directions so that you’ll have to discuss with this publish for directions.
The free racerback sample is available in two sizes, a measurement small for bust measurement of 34 inches and a measurement 5X, for bust measurement of 59 inches. If you happen to want a special measurement, you may resize in accordance with the directions on this publish.

Additionally notice that the dimensions 5x has solely been examined on my to scale gown kind, not on an individual. I’d counsel you measure rigorously and examine match with inexpensive cloth earlier than you narrow the good things. The sample has a 1/2 inch seam allowance until in any other case specified.

For the dimensions small, print pages 1-6. Add pages 11, 13-14 if you wish to add the shelf bra to the dimensions small. For the dimensions 5x print pages 1-12, then add 13-14 when you’re including the shelf bra.
Video Tutorial to Sew a Racer Again Tank Prime
You may watch a video of sew this tank high under or on YouTube right here. There are additionally written directions under the video.
DIY Racerback Prime Directions
If you happen to choose written directions to stitch your high, you’ll find these under. Refer again to the video tutorial above for any steps that don’t make sense.
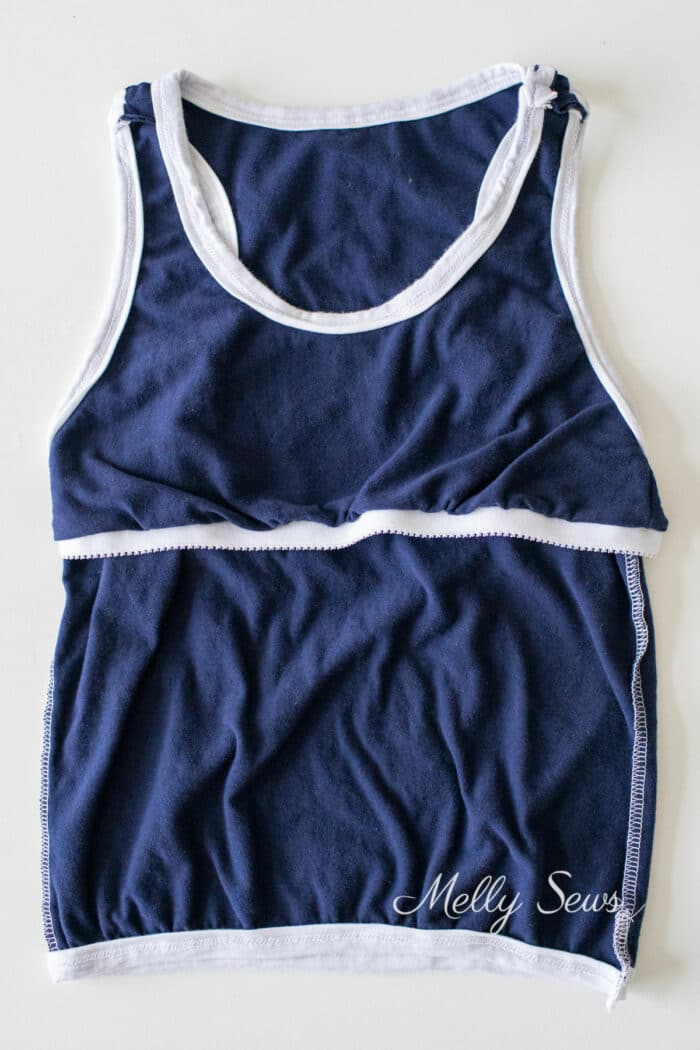
- Start with the shelf bra. If you happen to’re not stitching the shelf bra, skip to step 5. Begin by putting the back and front bra items proper sides collectively and stitching the facet seams with a stretch sew.
- Match the facet seams of the shelf bra to one another so you may mark middle entrance and middle again.
- Butt the ends of the bra elastic collectively and use a large zig zag sew to hitch them. Subsequent, mark quarter factors on the elastic.
- Place the plush facet of the elastic in opposition to the best facet of the shelf bra cloth with the picots pointing towards the material. After that, match the quarter factors and the straight fringe of the elastic with the uncooked edges of the material. Stretch the elastic flat in opposition to the material as you sew utilizing a zig zag sew on the sting. I take advantage of a 2.5mm vast and 2mm lengthy zig zag sew.
- Place the back and front proper sides collectively and stitch the facet seams with a stretch sew.
- Skip this step when you’re not including the bra. Place the shelf bra contained in the tank high, with cloth incorrect sides collectively. Match the neck opening and arm openings to one another and pin. Flip inside out, so the shelf bra is the outer layer.
- Match shoulder seams proper sides collectively. There will probably be 4 layers of cloth when you’re stitching the bra. Sew every shoulder seam, utilizing a stretch sew.
- Fold the arm and neckbands proper sides collectively and sew throughout the brief ends.
- Mark quarter factors on every armhole and the neckline. Word that the shoulder seams come ahead onto the entrance of the tank, so the quarter level is behind them if the facet seams are one quarter level.
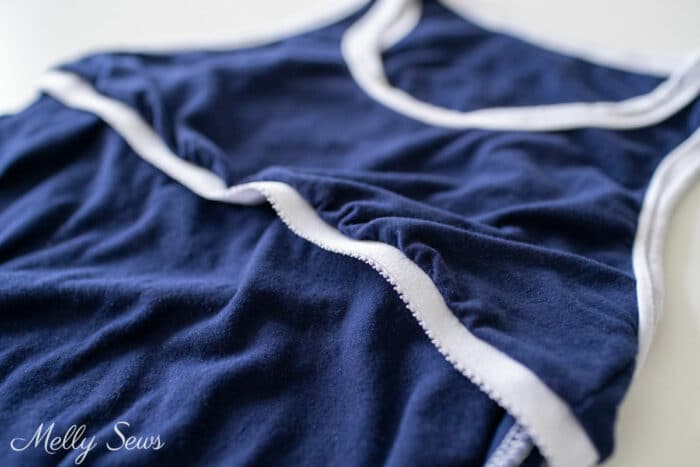
- There are two methods to connect the binding. Methodology one is to fold the band incorrect sides collectively and press it. Subsequent, match the quarter factors and sew by way of all 3 (or 4 with the shelf bra) layers of cloth directly. Stretch the band flat in opposition to the armhole. This technique is quicker, but it surely does lead to open seam allowances on the within of the garment.
- The second technique is to pin the band to the opening proper sides collectively, matching quarter factors. Stretch the band flat as you sew it on. Then fold the band to the within across the seam allowance, overlaying the stitching line from the earlier step and pin. Lastly sew the band once more, on the best facet, near the seam line. This may safe the material on the incorrect facet. This takes longer however ends in all of the seam allowances being enclosed inside the band.
- Lastly, fold the underside fringe of the tank high to the incorrect facet and sew a hem. Right here’s a publish with strategies to stitch knit hems.
- Word that I hemmed my tank high with my cowl sew binder as properly. I did this as a result of I didn’t have sufficient cloth so I lower my tank high brief and I didn’t wish to lose any size. Due to this fact the tank high pictured right here is shorter than the sample.