This website accommodates affiliate hyperlinks to merchandise. We might obtain a fee for purchases made by means of these hyperlinks.
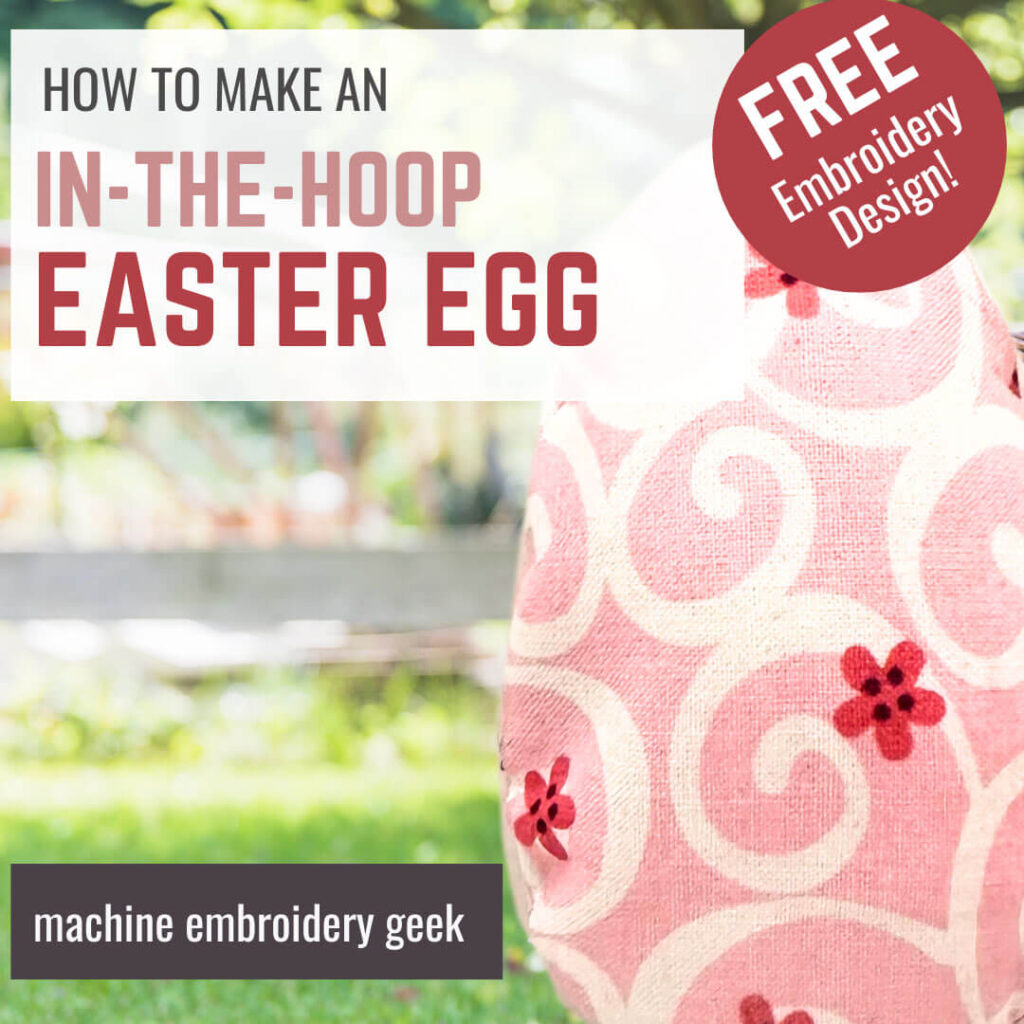
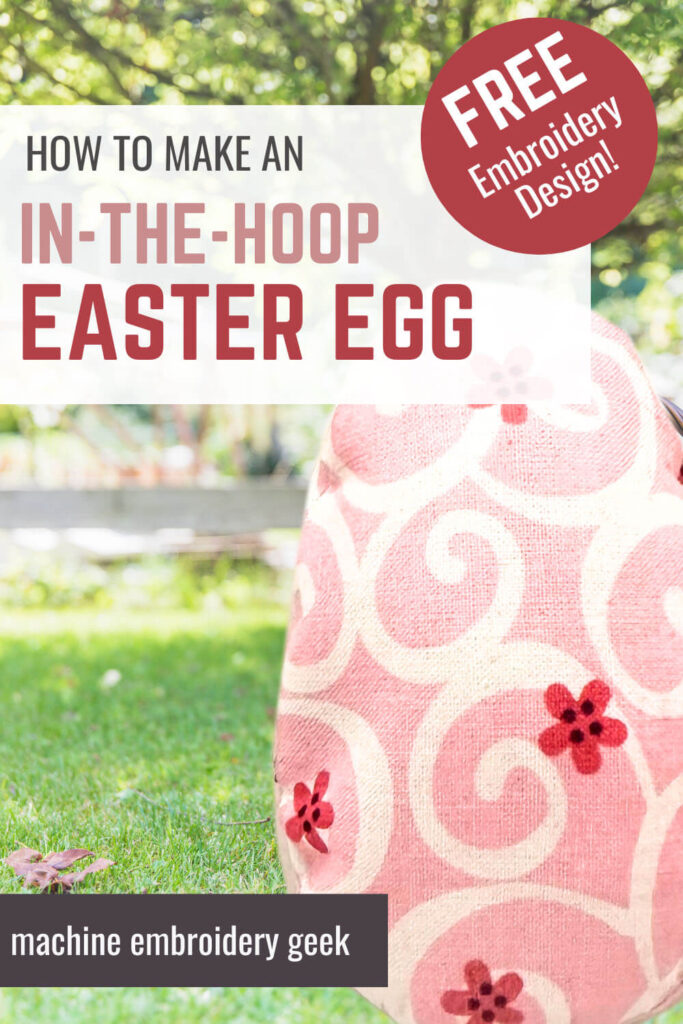
Easter is on the horizon, and for the machine embroidery fans on the market, it’s not only a season to dye eggs; it’s a time to craft some lovely items and residential decor. One enjoyable and productive method to make use of your embroidery machine this Easter season is to whip up some in-the-hoop Easter eggs! They’re a fantastic different to these cheapo plastic eggs that you just fill with sweet. Or, you’ll be able to stuff them with fiber fill and use them in a house decor mission.
On this article, I’ll stroll you thru the steps to create an lovely in-the-hoop Easter egg. Not solely is that this a mission that can fill your Easter basket with pretty selfmade goodness, it’s additionally a good way to hone your in-the-hoop abilities. So, whether or not you’re a seasoned machine embroidery professional or simply beginning out, I’ve bought you coated with a design that’s easy to sew out and extremely practical.
Merchandise talked about on this submit
What’s an In-the-Hoop Easter Egg?
In-the-hoop (ITH) embroidery initiatives are all about making a completed product inside a single hooping. The methodical strategy of in-the-hoop initiatives ensures a structured, clear outcome each time.
In-the-hoop initiatives have skyrocketed in reputation due to their ease of execution and professional-looking outcomes. Plus digitizers are producing some REALLY cool in-the-hoop designs. From toys to bibs to small purses, it looks like you can also make virtually something in-the-hoop.
An in-the-hoop Easter egg mission isn’t any completely different. It means that you can create a cloth egg that’s good for Easter festivities – from desk centerpieces to items for little ones or to stuff with sweet for an egg hunt.
Why make an in-the-hoop Easter egg?
In fact, making a easy little stuffable egg doesn’t should be completed in-the-hoop in your embroidery machine. You might simply simply sew one so long as you’ll be able to sew in a managed sufficient method to sew alongside the define of an egg form.
However this explicit Easter egg mission is ideal for a variety of causes:
- Effectivity: With just one hooping, you’re capable of create your complete egg in a single go, saving time and streamlining your crafting course of.
- Environmentally pleasant: As a substitute of shopping for plastic eggs that can find yourself in landfills, you’ll be able to create reusable cloth eggs which might be each sensible and sustainable. What a fantastic use for tiny cloth scraps!
- Customization: By selecting your individual cloth, thread colours and stitching designs, you’ll be able to create an Easter egg that’s distinctive to your style.
- Ability-building: In-the-hoop initiatives are a good way to sharpen your embroidery abilities. This mission particularly will enable you to follow utilizing appliqué methods and dealing with various kinds of stabilizers.
- Personalization: You possibly can even add personalization like names or monograms.
- Skilled End: Upon completion, the in-the-hoop egg will look as if it’s straight from a boutique, full with clean stitching and a focus to element.
How one can make an in-the-hoop easter egg
Earlier than you begin stitching, it’s vital to assemble all the mandatory provides. Then, I’ll information you thru every step of making your in-the-hoop Easter egg.
Provides Wanted
For this mission, your embroidery machine might be your greatest buddy. Don’t fear if all you personal is an embroidery machine with a small hoop. You may make this mission in a 4″ x 4″ embroidery hoop or bigger.
Along with your machine, guarantee you’ve:
- The Design File: Head over to my useful resource library, to get the free design. For those who don’t know the password, subscribe to the publication, affirm your subscription and the password might be despatched your method. Oh – and when you get into the useful resource library – be sure you try the a great deal of different free designs.
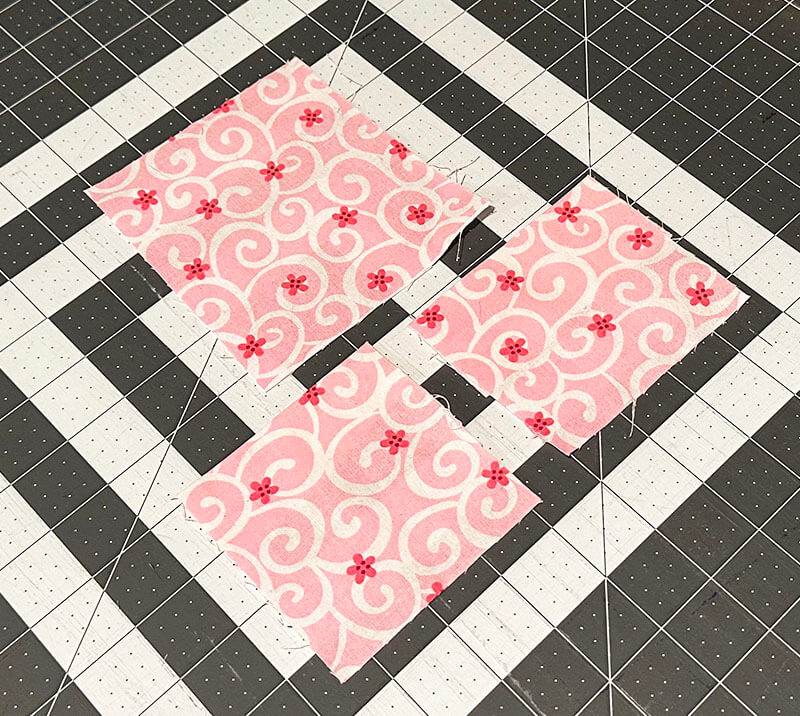
- Material: Choose appropriate cloth to your egg. I believe that quilting cotton in an Eastery sample and coloration works nicely for this mission. You will have three items of material: 2 items 4″ large x 6″ tall and one piece 4″ x 4″.
- Stabilizer: Use a tear-away stabilizer for one of the best outcomes.
- Thread: Not like some in-the-hoop mission the place it’s essential to match your prime thread to your backside thread – for this mission you should utilize no matter coloured embroidery thread and bobbin thread is in your embroidery machine.
- Scissors: Sharp, exact scissors for trimming cloth and stabilizer as you go alongside.
- Iron: As a result of each stitching and embroidery mission appears higher when pressed.
- Stuffing: This might be sweet (like for an egg hund), or it might be fiberfill, wool, and even dried lavender for a beautiful scented egg.
Steps
Now that you’ve your provides, it’s time to start out stitching.
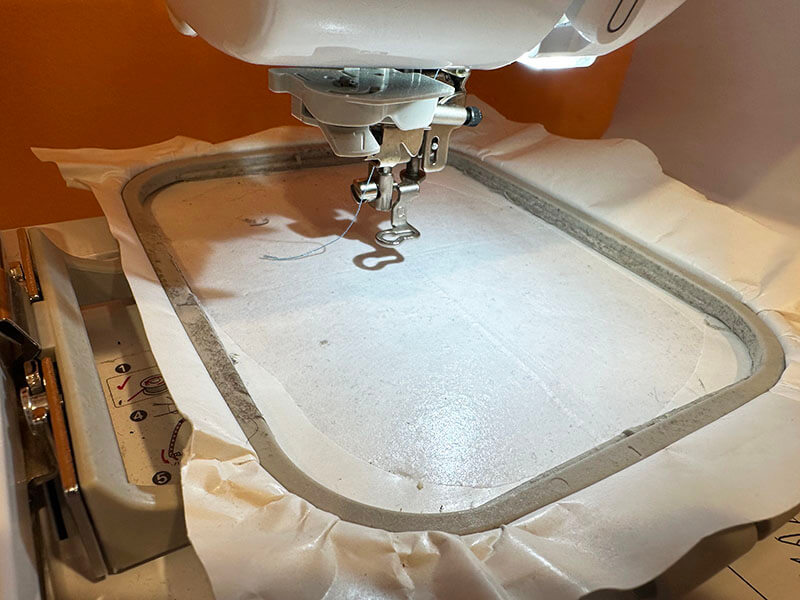
Step 1: Setting Up
Begin by loading within the design in your embroidery machine. You should use no matter thread is already in your machine.
Then, you’ll want to chop three items of the chosen cloth to measurement. One for the entrance of the egg: 4″ x 4″ and two for the again: 4″ large x 6″ tall. Press the again piece in half to make them 4″ large alongside the fold and three″ tall.
Subsequent put together your embroidery hoop. Hoop a chunk of tearaway stabilizer in your embroidery hoop. If you’re utilizing the sticky again selection, rating across the inside fringe of the ring to create a small tear within the prime paper layer and peel away that paper.
I used sticky again tearaway for this mission however non-sticky might be simpler to work with as you will have to peel it off your cloth if you find yourself completed to show the egg proper facet out.
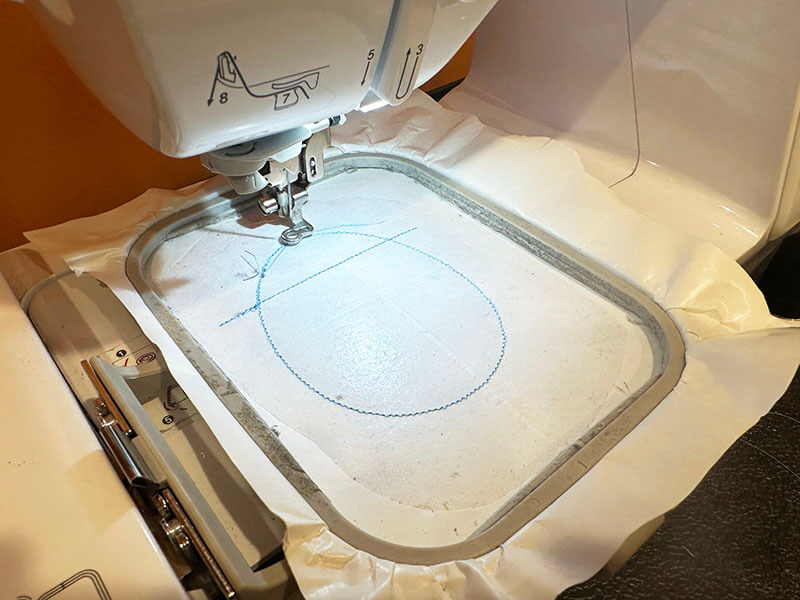
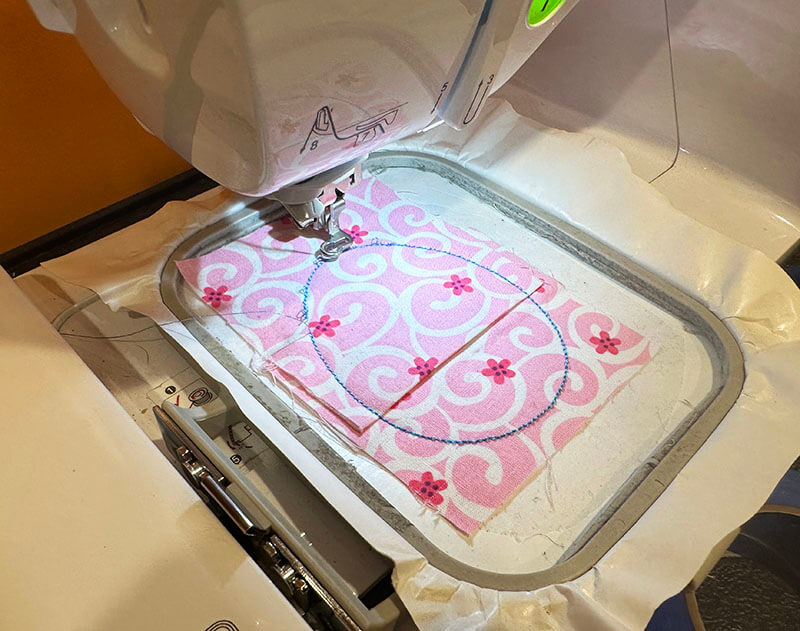
Step 2: Placement stitching
- Lay down the reduce entrance piece of material throughout the inlay sew line.
- Lay down the again reduce piece of material throughout the inlay sew line as nicely, making certain it aligns with the entrance piece on the opposite facet.
- Rigorously pin or clamp the material in place, ensuring it’s taut however not stretched.
Step one of the in-the-hoop egg is a placement sew. Sew this out on the hooped stabilizer.
Step 3: Tack down stitching
As soon as that is completed stitching, lay down certainly one of your folded items in order that it virtually covers the egg. The fold line ought to line up with the horizontal line throughout the egg as pictured beneath.
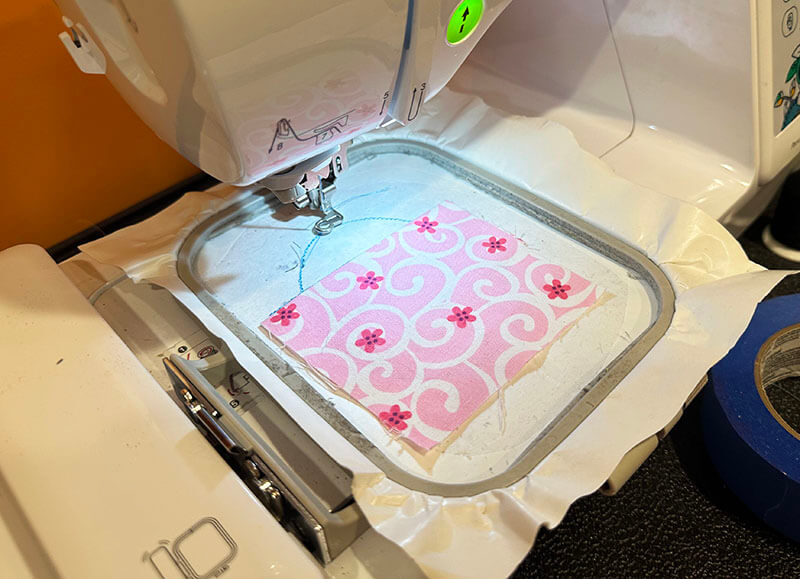
Now lay down the opposite folded piece of material in order that it over laps the primary by about 1-1/2″
Now, begin stitching your subsequent thread coloration. This can server to carry al of the material in positioned.
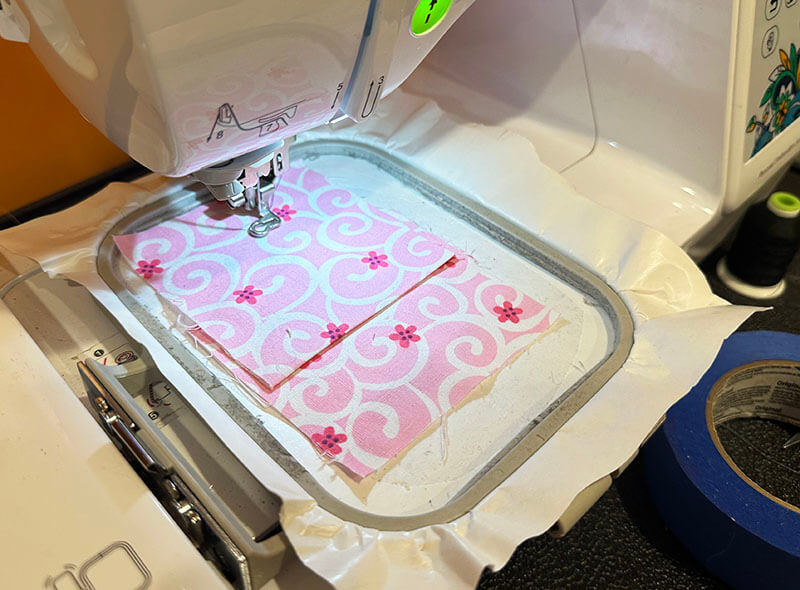
Step 4: Closing stitching
Now, lay down the again piece of the egg with proper sides of the material going through one another. And begin the ultimate spherical of sewing.
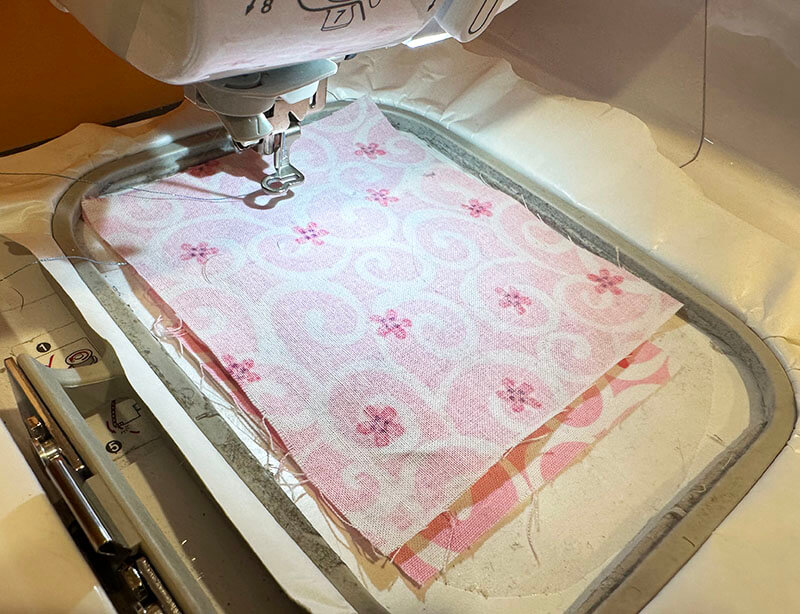

Step 4: Trim and switch
Your in-the-hoop egg is now completed! You simply must tear away the egg from the stabilizer. Trim the surplus cloth and stabilizer away from the sew line, being carful not reduce the precise sew. Then peel away the tearaway stabilizer from the again of the egg.
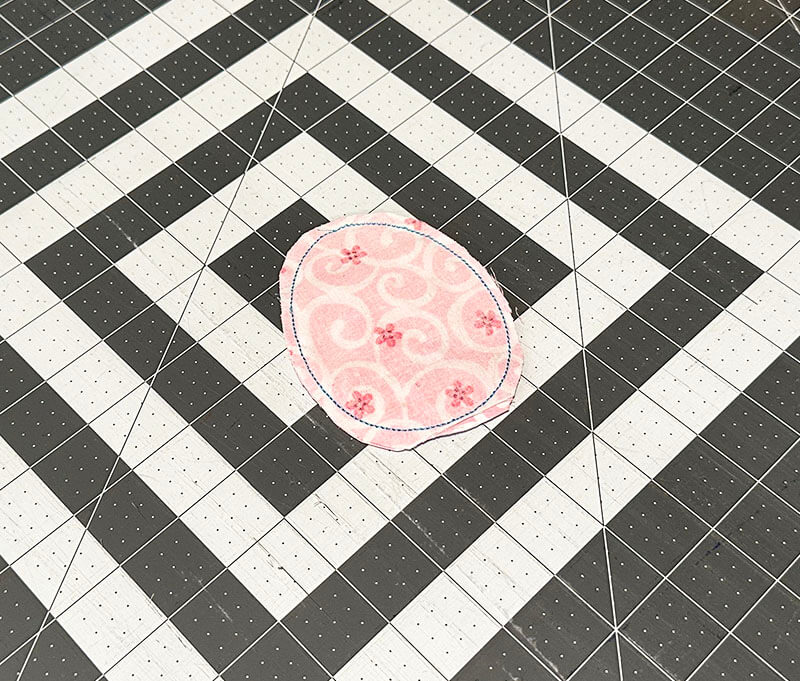
As soon as the again of the egg is uncovered – you’ll be able to flip it proper facet out. Press it for a extra polished look. You might be able to sew out your subsequent one!
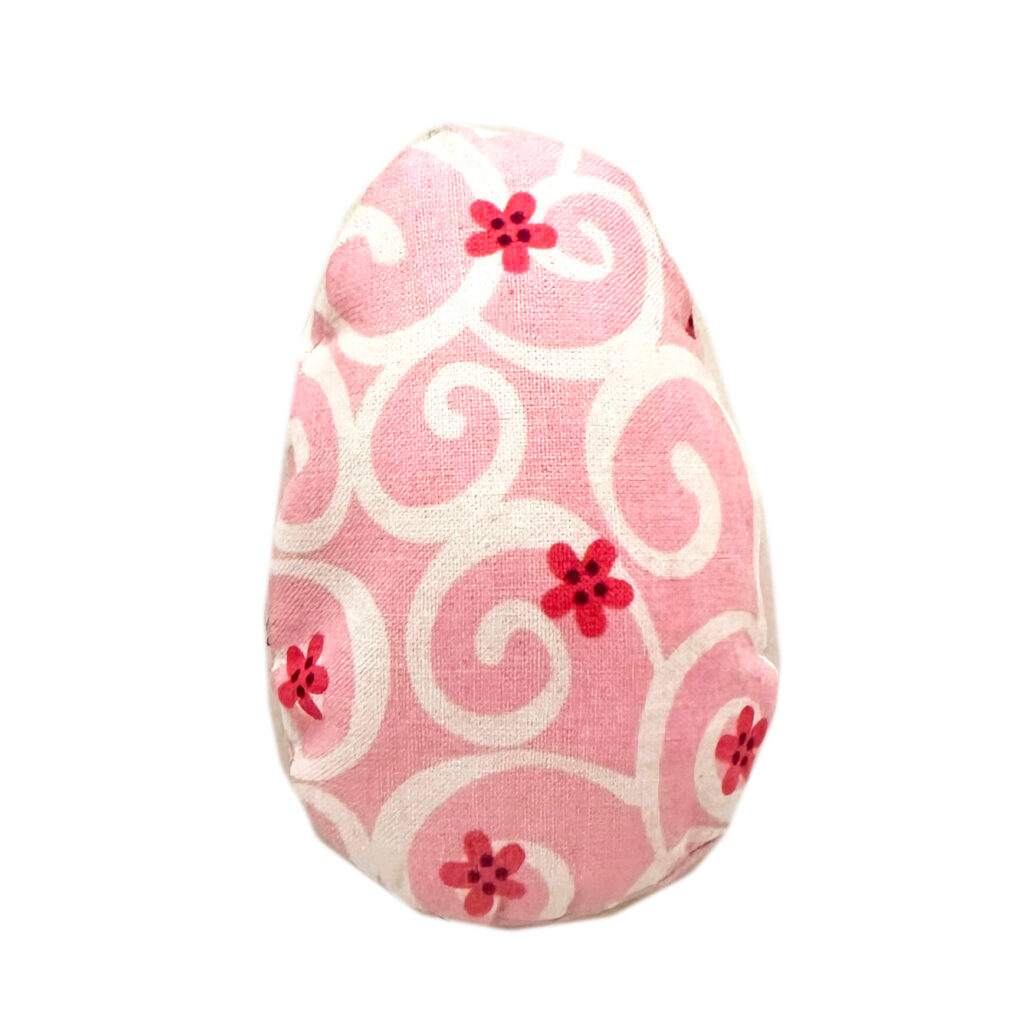
Step 5: Stuffing the Egg
Right here comes the enjoyable half. Stuff your egg with filling or sweet however be conscious to not overstuff. The egg ought to be plump however nonetheless comfortable to the contact. If you’re stuffing it with sweet – you might need to embrace some synthetic grass to present the egg a extra rounded really feel.
So, are you able to make some in-the-hoop Easter eggs?
Creating an in-the-hoop Easter egg is a satisfying mission for any machine embroidery fanatic. It’s a seamless mix of creativity and precision that ends in a pleasant completed product. For those who’re new to in-the-hoop designs, this can be a good mission to start out with – easy but gratifying. For these extra skilled, it provides a canvas to display your abilities and add private prospers. Whether or not you’re adorning a seasonal wreath, making a one-of-a-kind present, or just treating your self to some festive décor, these eggs are certain to be successful. This Easter, sew your option to seasonal pleasure with in-the-hoop eggs. It’s a craft that’s certain to crack smiles.
Wish to bear in mind this? Save the best way to make an in-the-hoop Easter egg in your favourite Pinterest board?