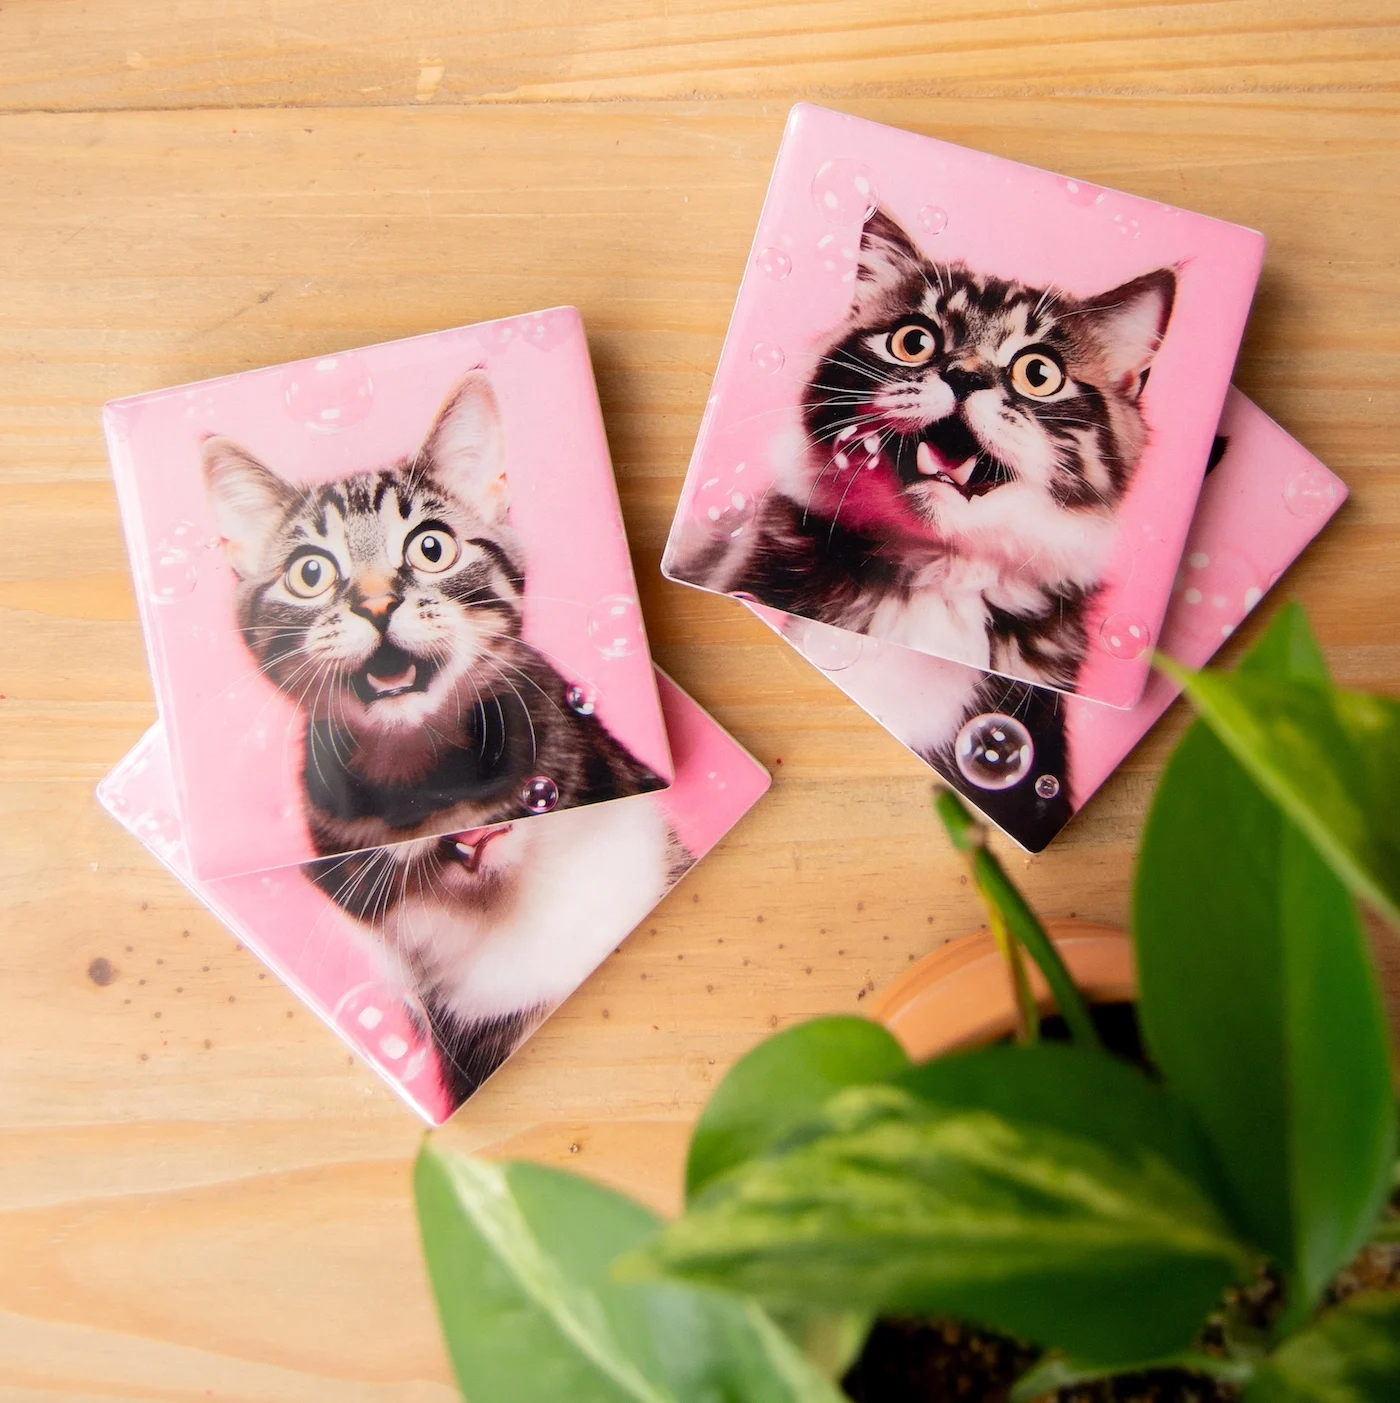
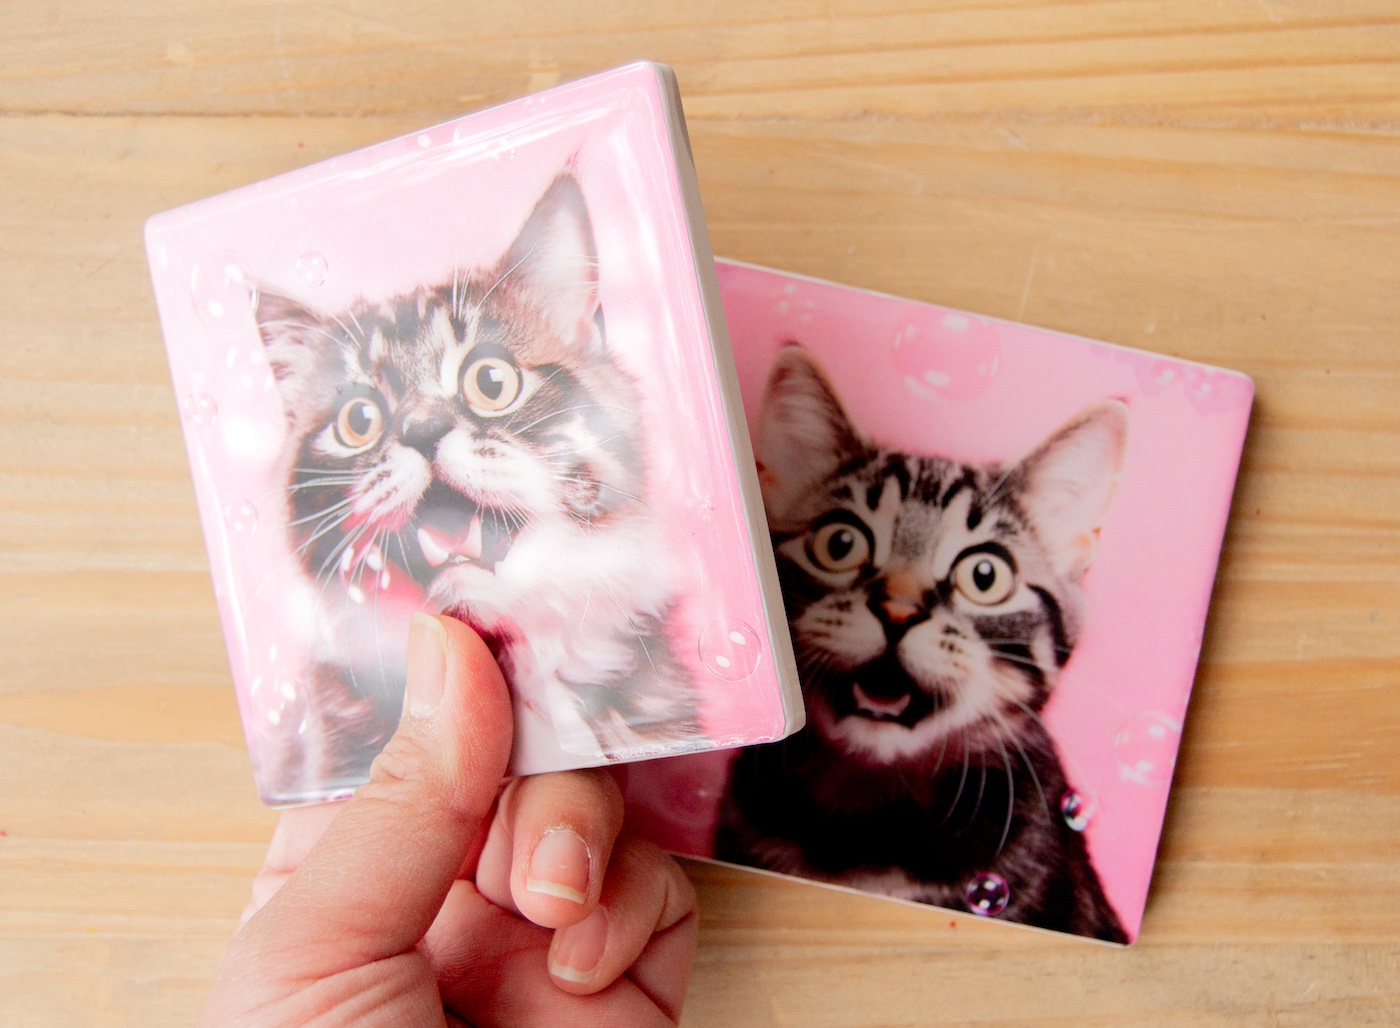
Be taught to make your personal DIY tile coasters with this easy information. Excellent for rookies, utilizing Mod Podge, photographs, and resin for a customized look!
Abilities Required: Newbie to Intermediate. You’ll be utilizing Mod Podge to stick your photographs to the tiles, and utilizing resin (or your sealer of alternative) to make them water and warmth proof. I extremely advocate you learn my suggestions on this publish for fulfillment.


Ever end up observing these plain, uninspiring coasters that hardly make an announcement in your espresso desk? Properly, why accept mundane when you possibly can create one thing spectacularly personalised?
It’s time to roll up your sleeves and take a look at a brand new venture: DIY tile coasters. Excellent for rookies and people with a bit extra crafting muscle, this venture isn’t nearly making coasters – it’s about making your coasters.
Whether or not you wish to immortalize your pet, a memorable trip, or just add a splash of shade to your decor, this venture is your ticket to inventive expression. And let’s be sincere, who doesn’t love somewhat little bit of creativity sprinkled by means of their day?
Right here’s what makes this venture a blast: you get to play with Mod Podge and resin – two supplies that assure your coasters aren’t simply ornamental however sturdy too.


No extra worrying about water rings or warmth marks; your new coasters will deal with these like a champ. Plus, the non-public contact of utilizing your chosen photographs makes every coaster a mini masterpiece.
Don’t fear for those who’re pondering, “However I’ve by no means even held a paintbrush!” The great thing about this DIY ceramic coaster venture is its simplicity. You’ll begin with a visit to seize some tiles, that are surprisingly reasonably priced.
Then, it’s only a matter of chopping and pasting your photographs, and sealing them beneath a transparent, shiny resin that’ll make your coasters look professionally made.
Prepared to remodel your common tabletop into a private gallery of purposeful artwork? Seize your scissors, photographs, and a little bit of enthusiasm – let’s flip these bland tiles into daring statements.

By the tip of this, not solely will you’ve snazzy new coasters, however you’ll even have the bragging rights to say, “I made these!” Learn on to learn the way straightforward and satisfying this DIY journey will be. Let’s get crafting!
Right here’s what you’re going to want. We even have a free printable set of cat photographs for those who’d like to make use of these, for private use solely.
Collect These Provides
- Ceramic tiles
- Scrapbook paper or photographs
- Mod Podge – any formulation (I like to recommend Gloss, Satin, or Matte)
- Scissors
- Craft knife or field cutter
- Metal ruler
- Felt
- Resin
- Mixing cup and stick
- Gloves and PPE
- Scorching glue gun and glue sticks
- Paintbrush
- Sandpaper (elective – to tough up the tiles)
Necessary Suggestions for This Challenge
You’ll be able to seize tiles from House Depot – they’re very low cost! You should purchase any kind of ceramic tiles you want. Even the sleek ones will work (you may want a chunk of sandpaper to tough up the floor).
Tiles are additionally obtainable at craft shops. After all it’s also possible to use wooden, cork, or another floor in your coasters. The method is identical.
Notice: Photographs printed with inkjet printer can smear. Should you don’t have a laser printer at residence, you possibly can take your photographs to an workplace provide retailer to have them print it. Trim and reduce them based on the dimensions of your coaster.
One other workaround for that is to spray each side of the inkjet picture with hairspray or spray sealer earlier than Podging. Be taught extra about it in our publish about decoupage on wooden. The method would be the identical.
Mod Podge will not be waterproof. It’s fairly shut, however for actually sizzling cups after which perspiration on moist glasses, you’re going to want one thing stronger. You should utilize resin or spray clear Engine Enamel as a remaining coat.
Get the printable how you can card for this venture under:
Prep Time
quarter-hour
Lively Time
45 minutes
Dry Time
12 hours
Whole Time
13 hours
Issue
Superior Newbie
Estimated Value
$10
Supplies
- Ceramic tiles – 4
- Scrapbook paper or photographs
- Mod Podge
- Felt
- Resin
- Sandpaper (elective)
Instruments
- Scissors
- Craft knife or field cutter
- Metal ruler
- Paintbrush
- Mixing cup and stick
- Gloves and PPE
- Scorching glue gun and glue sticks
Notes
RESIN APPLICATION TIPS: Make certain the floor you might be leaving your coasters to dry are flat and degree. Elevate your coasters (I used bottle caps for mine) in order that they don’t seem to be in touch with the floor – it will be certain that any drips won’t pool on the underside of your coaster and make your coaster persist with the floor). Lastly, use a popsicle stick to assist unfold the resin round simpler.
Thanks a lot for letting me share my coasters made out of tiles! Let me know what you assume on this venture. I’d additionally love so that you can go to the next coaster posts: