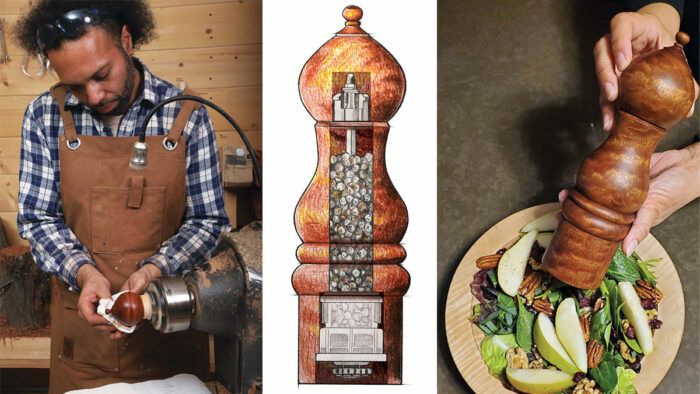
I get pleasure from cooking delectable meals practically as a lot as I really like turning lustrous, figured wooden, and this turning a pepper grinder fortunately brings these two passions collectively. We’re calling it a pepper mill, however it may well grind salt and spices simply as nicely.
I designed it to just accept the CrushGrind mill mechanism, which I like as a result of it doesn’t require drilling by the highest of the mill’s cap and having {hardware} uncovered on prime. As an alternative, the cap is a friction match onto the mechanism’s stem. This permits the outer contours of the mill to circulate collectively and seem as a single, uninterrupted type all the best way from the desk to the highest of the cap. Whereas on mills with uncovered {hardware} the grind is usually adjusted by loosening or tightening the cap nut, the CrushGrind mechanism has a small, round knob accessible on the underside that permits you to alter for coarse or finely floor spices.
You’ll be able to flip your mill utilizing my design, however you don’t have to. So long as you present enough house inside for the mechanism, there may be practically limitless latitude for experimenting with the shape. Your selection of fabric can be large open. I turned this mill from a bit of pomelle sapele, a robust and steady fine-grained hardwood from West Africa. It’s a pleasure to show and exudes an exquisite, vivid, pure iridescence. However in fact nearly any chunk of wooden you’ve rattling round in your store that matches the tough dimensions—about 3 in. sq. and 1 ft. lengthy—might be a wonderful candidate as nicely.
Creator Really useful
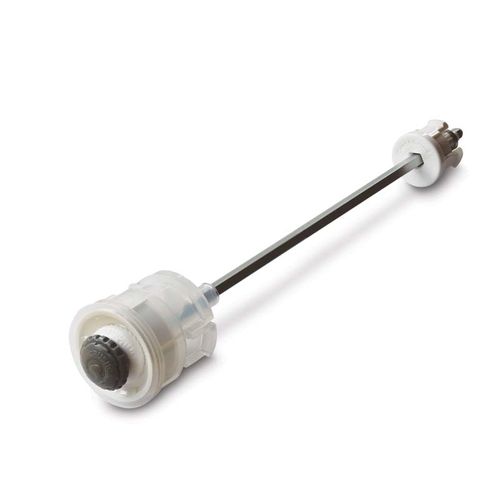
CrushGrind Pepper Mill Mechanism
Matt Monaco designs his pepper mills to just accept the CrushGrind mill mechanism, which he likes as a result of it doesn’t require drilling by the highest of the mill’s cap and having {hardware} uncovered on prime.
Worth: $17.99 on the time of writing
Begin with a cylinder
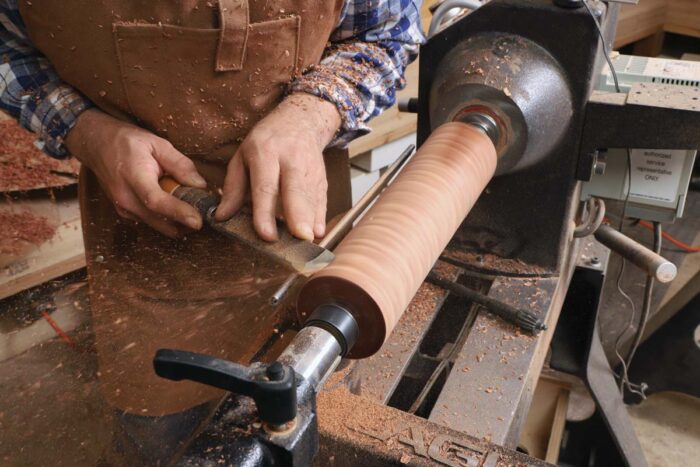
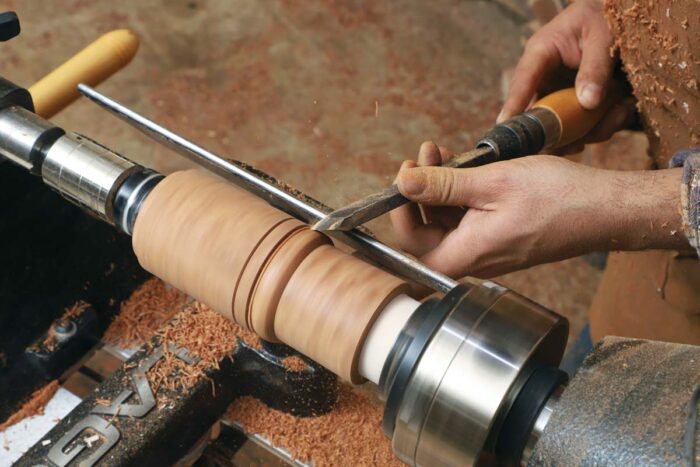
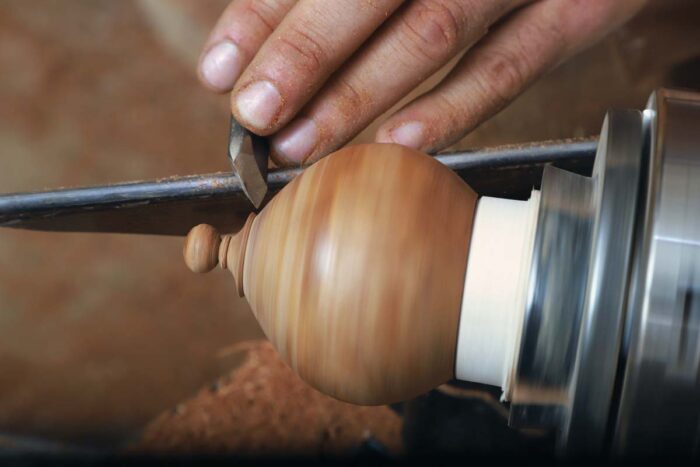
Rounding the clean. After turning his clean to a cylinder with a roughing gouge, Monaco right here makes use of a 1-in. skew to do the ultimate planing.
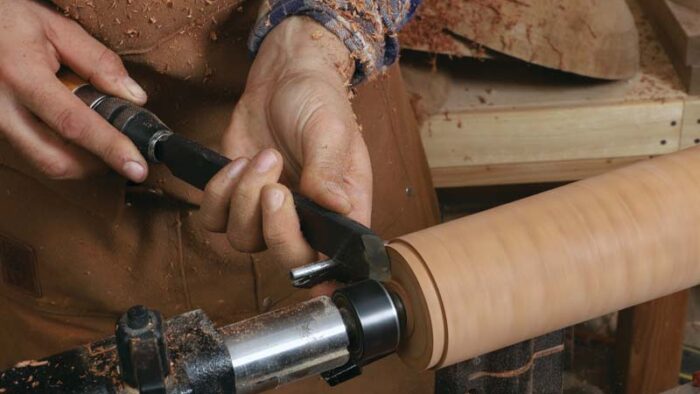
Tenons prime and backside. With the clean nonetheless between facilities, Monaco makes use of a skew to chop 1⁄4-in.-wide tenons at every finish of the workpiece. These will let him mount the work in a four-jaw chuck.
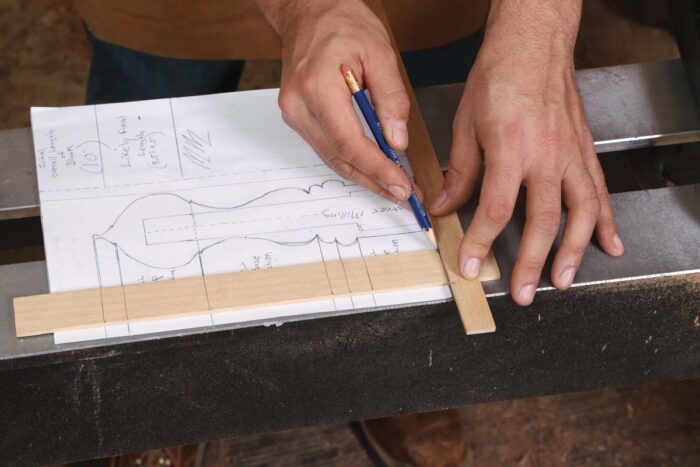
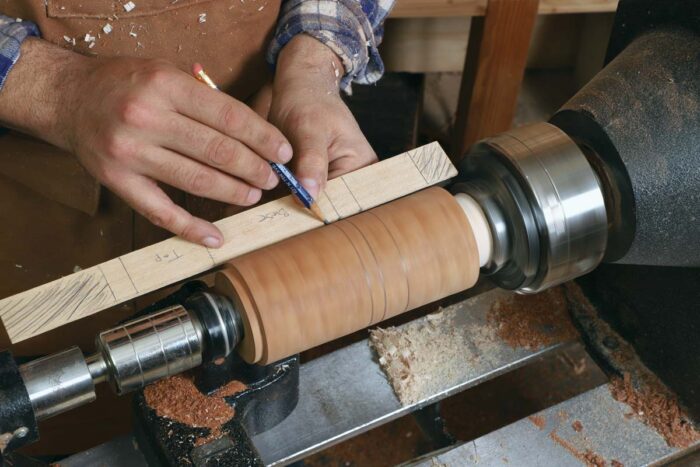
Stick figures. Monaco transfers key transitions from his drawing of the mill onto a narrative stick.
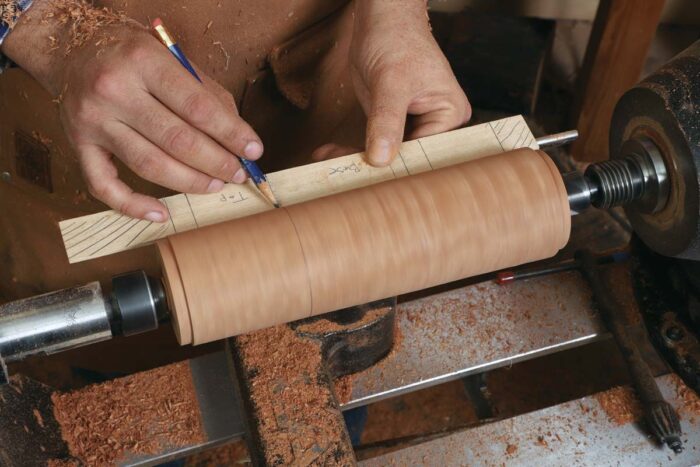
Format on the spin. Whereas the cylinder spins, Monaco makes pencil marks on the clean at every transition level on the story stick.
When making a pepper grinder, Matt Monaco reaches for his
skew greater than some other device. On this excerpt from our eLearning
class, he demonstrates how he sharpens it.
Cut up the mill
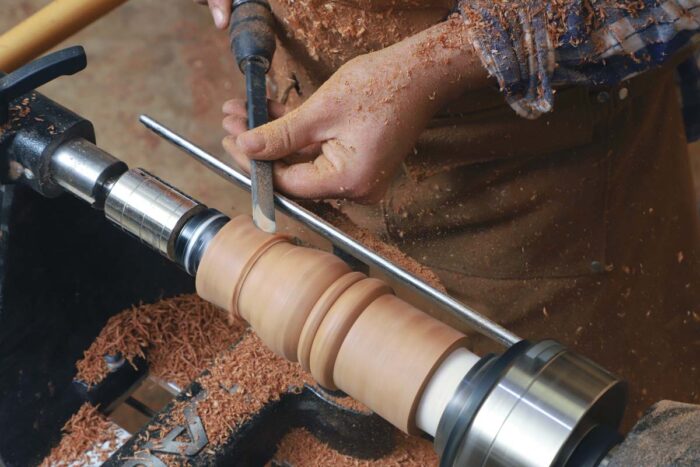
Separate the physique from the cap. Utilizing a parting device, Monaco cuts a 3⁄8-in.-wide recess the place the mill physique meets the cap. Then he components practically right through the work on the cap aspect of the recess. That leaves a 1⁄4-in.-wide tenon on the prime of the physique for mounting within the four-jaw chuck.

He makes use of a hand noticed with the lathe turned off to complete the parting lower.

Hole the physique
Make manner for the mechanism. The physique clean has tenons at each ends; mount the underside tenon first. Mark the physique and the cap to keep away from confusion over which finish is which.
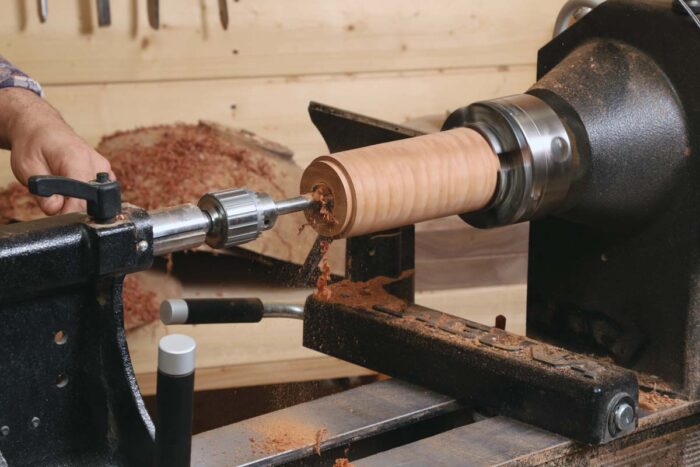
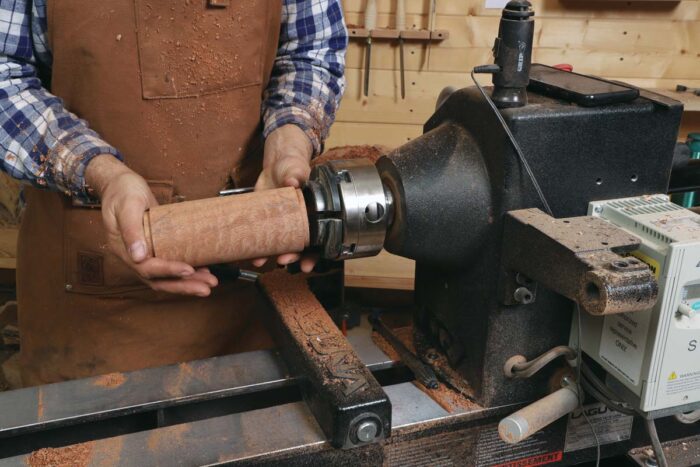
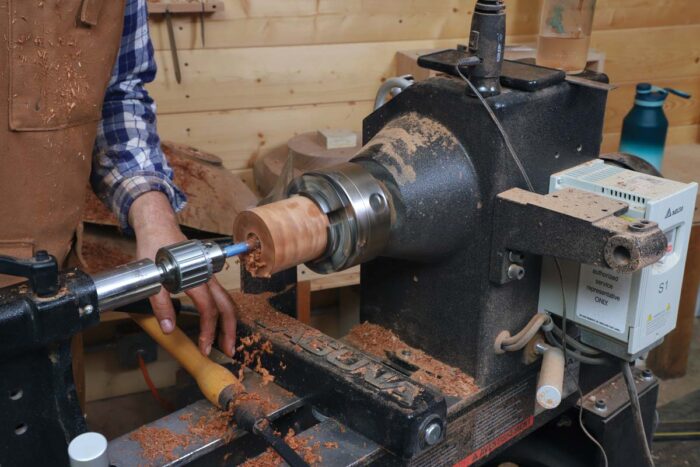
Deep drilling. Utilizing a 11⁄16-in.-dia. Forstner bit, drill to the midway level within the physique or simply past. Earlier than turning on the lathe to do the drilling, interact solely the purpose of the bit on the centerpoint of the clean; then begin the lathe and advance the tailstock to do the drilling.
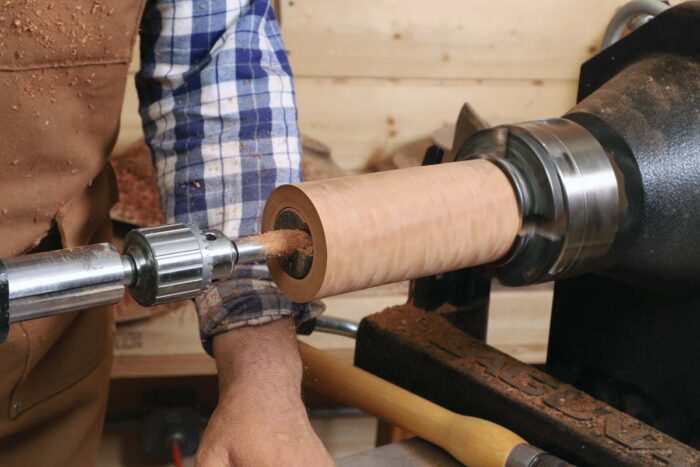
Boring from the underside. After turning the physique finish for finish, half off the underside tenon and drill a three-step gap. First, as proven above, drill 3⁄4 in. deep with a 13⁄4-in.-dia. Forstner bit. Then drill 21⁄4 in. deep with a 19⁄16-in.- dia. Forstner. And final, use the 11⁄16-in. Forstner to complete the outlet.
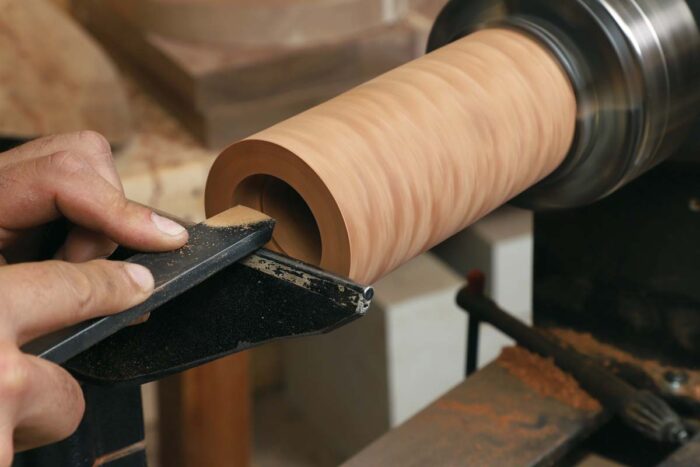
Smoother nonetheless. Monaco makes use of a 3⁄4-in.-square finish scraper to refine the drilled partitions of the outer recess on the backside of the physique.
Form the physique

New chuck for the underside. Make a jam chuck to suit the 13⁄4-in. gap on the backside finish of the physique.
Base notes. Switch the transition factors from the story stick onto the mill physique. Use a revolving cone heart to regular the tailstock finish of the workpiece.
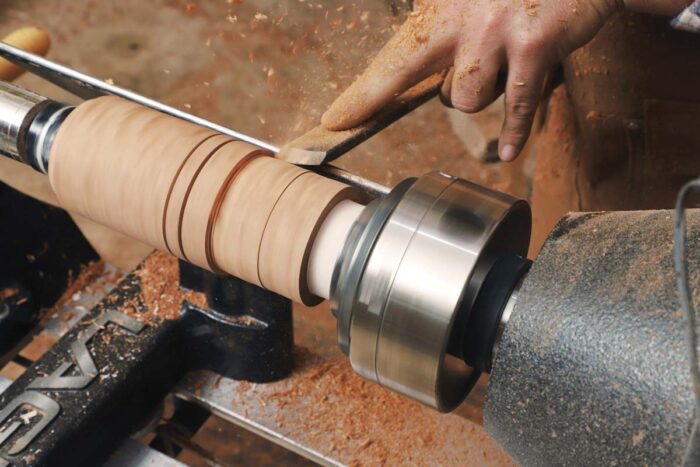
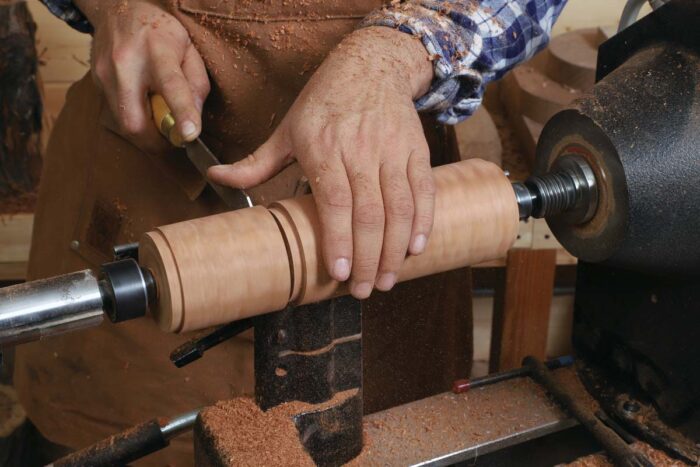
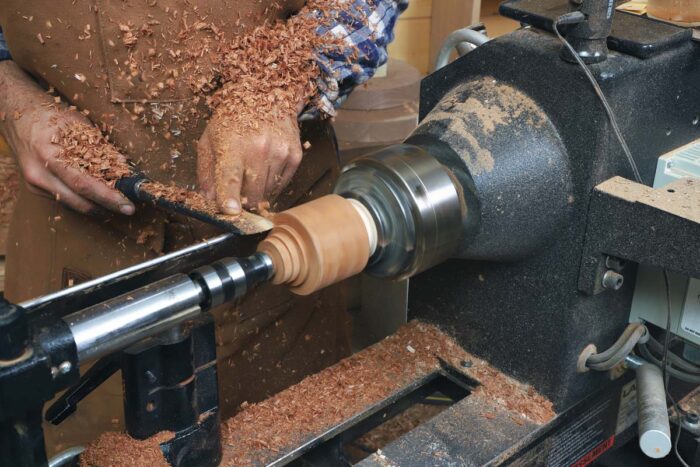
Groove and grade. After reducing V-grooves at the entire penciled transition factors, Monaco makes use of a 1-in. skew to form the straight decrease part of the physique.
Beadwork. Utilizing the 1-in. skew once more, Monaco rolls the beads on the waist of the mill physique.
The large cove. Monaco makes use of a 3⁄4-in. skew with a convex sweep to create the large cove on the prime of the mill physique.
Sand and end. With the shaping full, Monaco dry-sands the physique with 180-grit paper, then wet-sands with oil. Earlier than making use of a carnauba and paste wax combination with metal wool, he cuts a chamfer on the prime finish of the physique.
Create the cap
Drill it. After truing up the cap, use a 15⁄16-in.- dia. Forstner bit to drill a gap 11⁄4 in. deep to obtain the highest a part of the grinder mechanism.
Remount and start shaping. After making a jam chuck to suit the outlet, mount the cap, comfortable up the tail inventory, and switch the tough form.
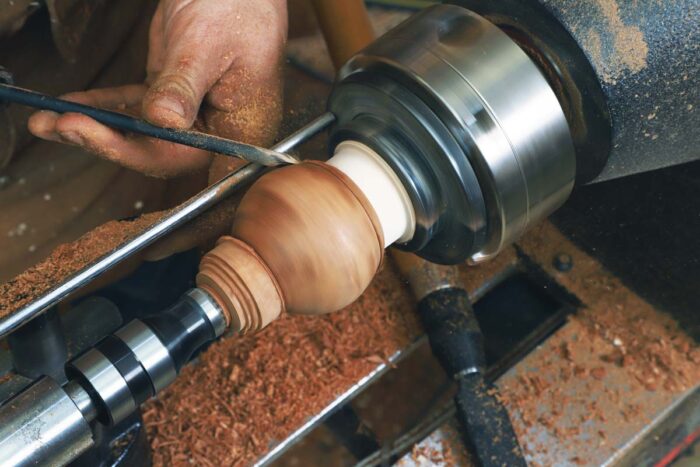
Sculpting with the skew. Monaco makes use of rolling sweeps of his skew to form the convex curves of the cap
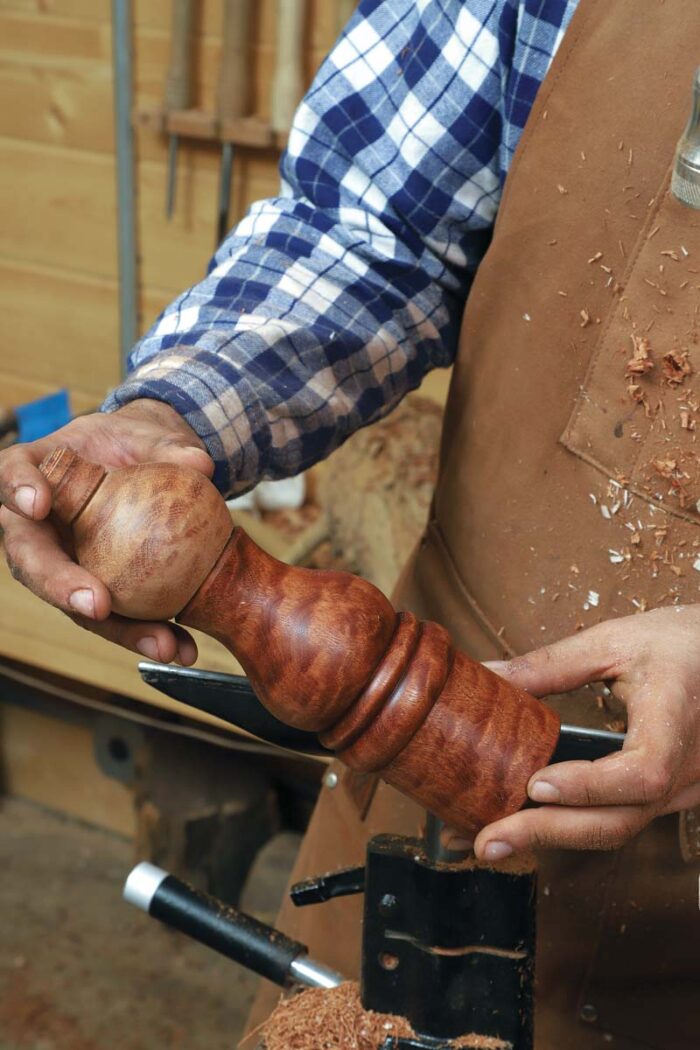
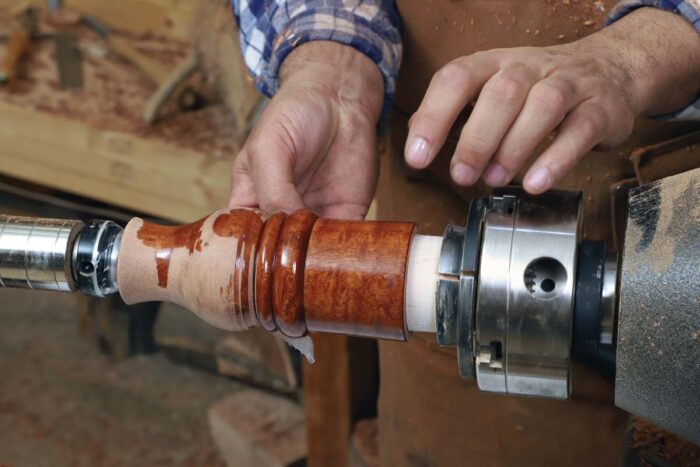
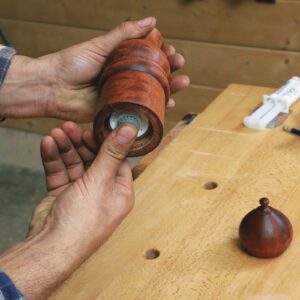
A fast, crucial evaluation. Earlier than committing to the ultimate contours of the cap’s finial, Monaco removes the cap from the lathe and locations it on the physique to evaluate the general type.
Lastly, the finial. To make the final defining cuts on the finial, together with this V-groove that establishes its backside edge, Monaco backs off the tailstock and, utilizing very mild stress, depends on the jam chuck alone to carry the workpiece regular.

Match the mechanism
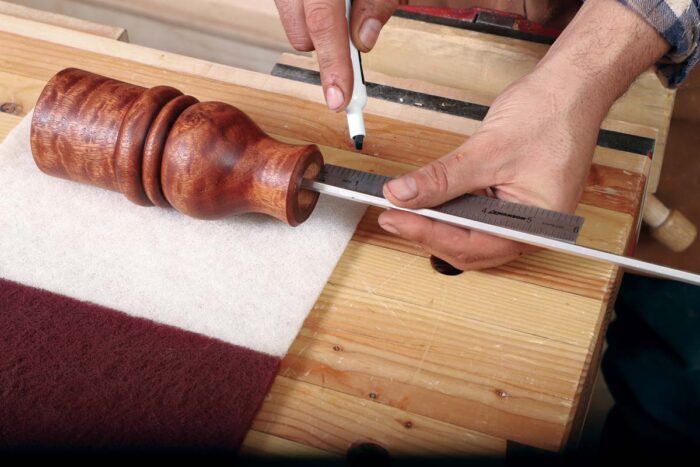
Trim the stem. With the underside of the {hardware} dry-fitted within the physique, mark the metallic shaft 11⁄8 in. above the highest of the physique.
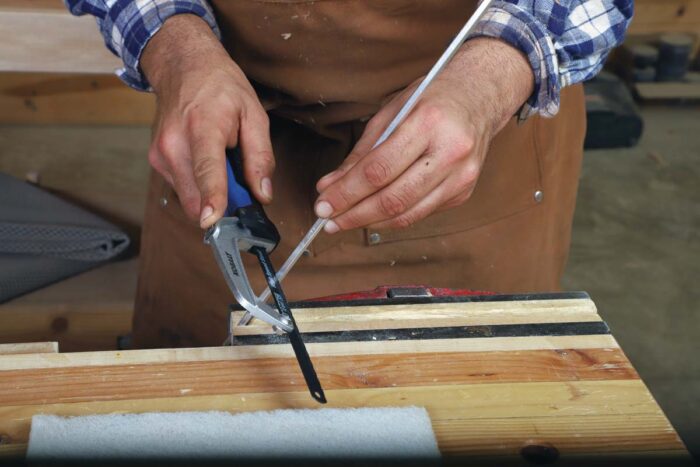
Then lower to your line with a hacksaw. Observe that by submitting or sanding the sawn edges of the shaft.
 |
 |
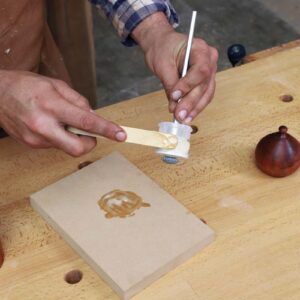
Glue it in. Apply epoxy or CA glue to the decrease a part of the mechanism, then press it into place.
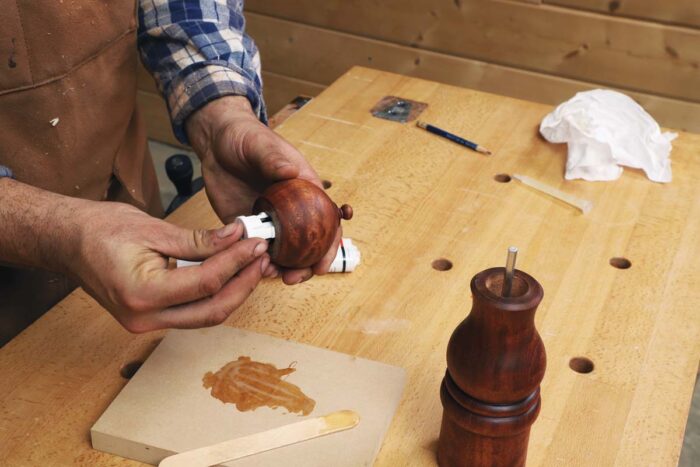
To the highest. Glue the highest a part of the mechanism into the cap. When the glue dries, press-fit the highest mechanism onto the shaft, and get grinding.
-Matt Monaco often alights at dwelling briefly in Kansas Metropolis, Mo., earlier than heading again out on the highway to show turning.

Join eletters as we speak and get the most recent strategies and how-to from Tremendous Woodworking, plus particular provides.
Obtain FREE PDF
while you enter your e-mail deal with under.