We’ve essentially the most cute hatching chick paper plate craft tutorial prepared for you. This one is ideal for spring, or should you colour the egg, it makes one of the vital enjoyable Easter crafts for teenagers.
Can’t you simply think about a bunch of those displayed on a bulletin board? Oh, so cute! That is a simple craft that’s excellent for each preschool and kindergarten in addition to older children.
*This publish comprises affiliate hyperlinks*
This one is a good last-minute Easter craft for teenagers. It doesn’t want lots of prep, and it’s an affordable one. It additionally has simply the suitable stability between arts and crafts – go all arty with the paper plate adorning and work on following directions for assembling the craft.
Did we point out it’s additionally insanely enjoyable to make? It positive is!
Easy methods to Make the Hatching Chick Paper Plate Craft
What you want:
- scissors
- glue
- paper plate
- colour paper (yellow and orange)
- cardstock (inexperienced or any of your selection)
- paint
- paintbrush
- two googly eyes
Step by Step Tutorial
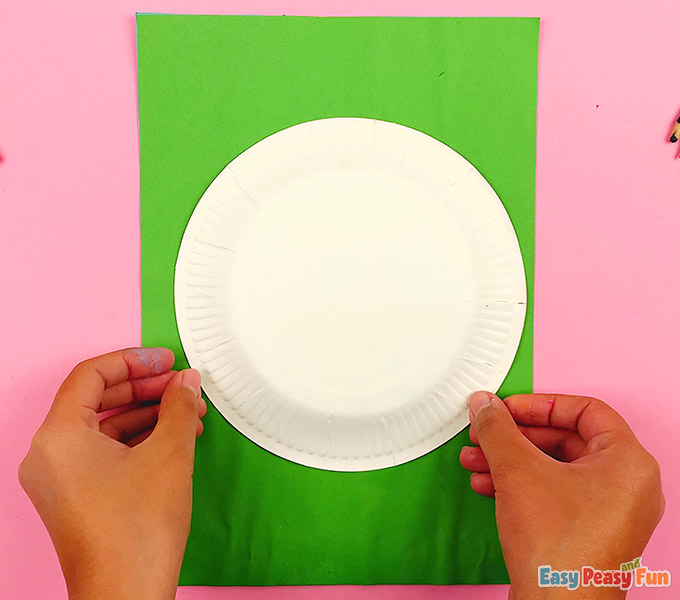
You’ll want a sheet of cardstock paper for the background (or cereal field!). Any colour will do.
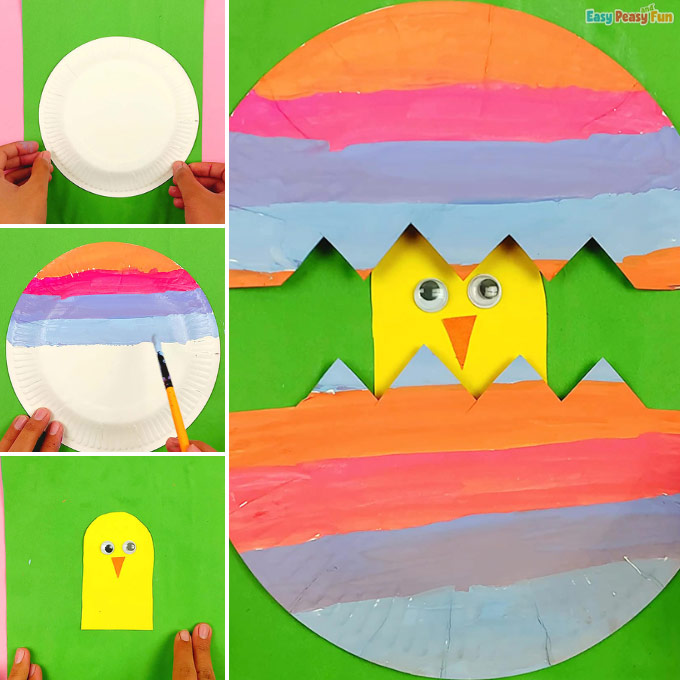
Put together a paper plate. We’ll rework it right into a cracked egg.
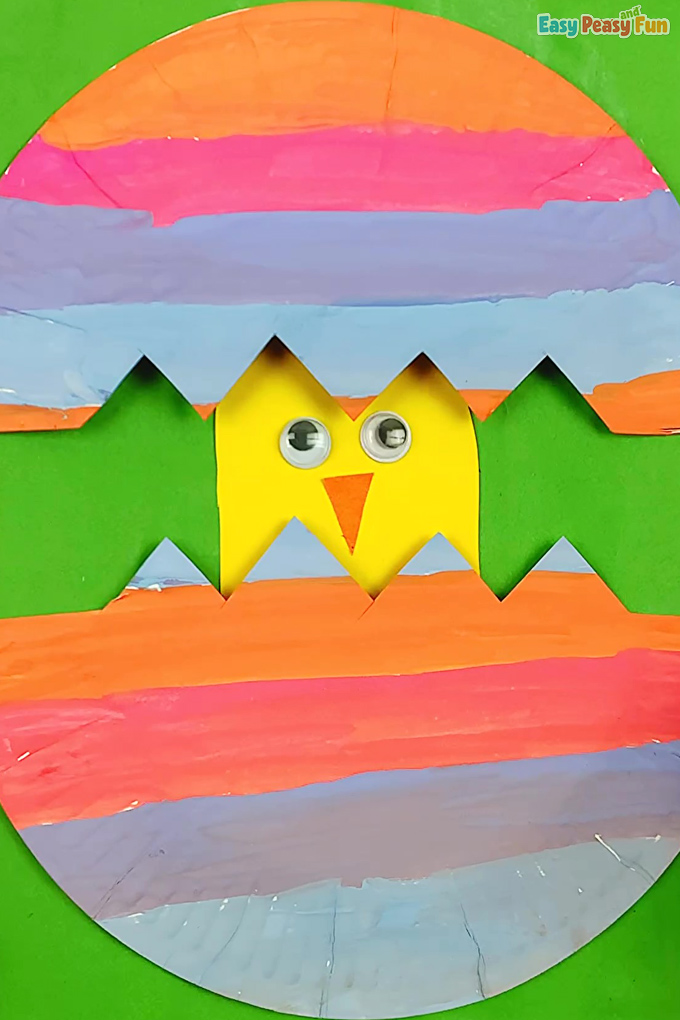
It’s time to embellish. Have the youngsters paint the paper plate to appear to be an egg, or like an Easter egg.
We might be coloring ours as an Easter egg.
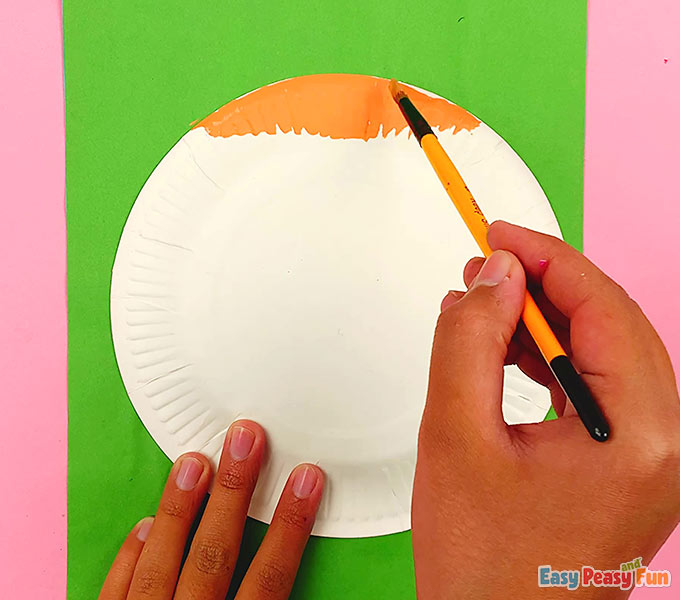
There are numerous methods you’ll be able to go about coloring it: stripes, dots, stars, waves… The sky is the restrict.
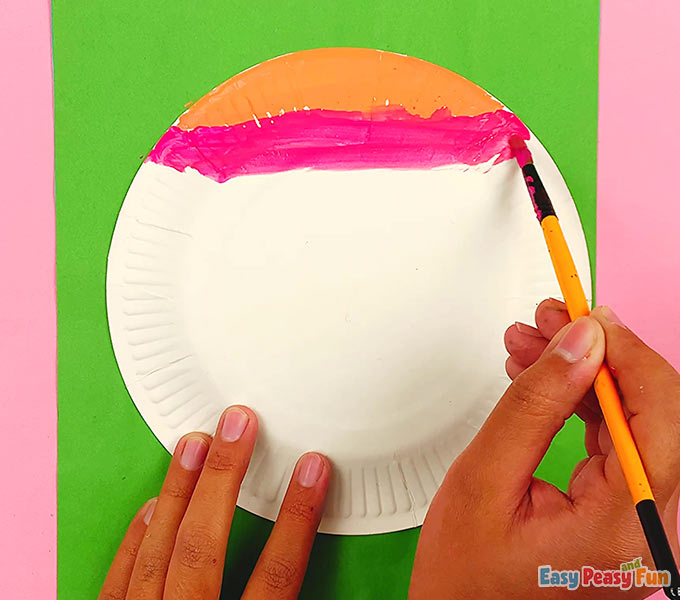
We went with colourful stripes for our paper plate Easter eggs.
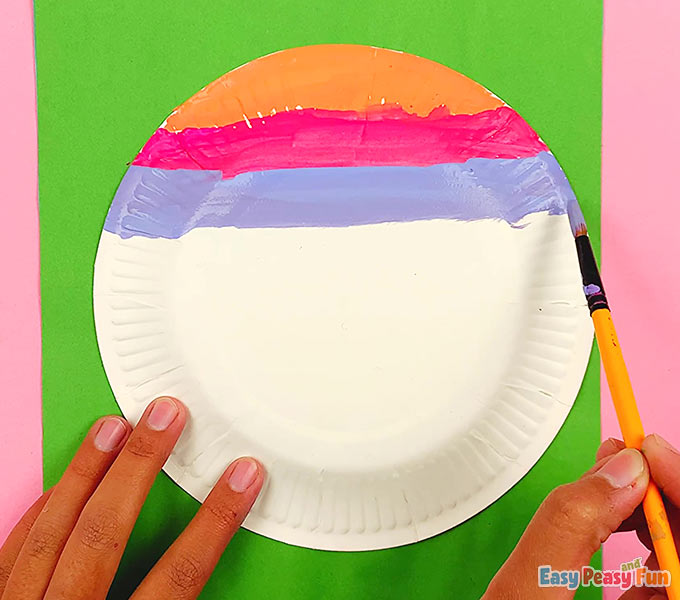
Any colours will do, pastel ones being essentially the most Easter-y.
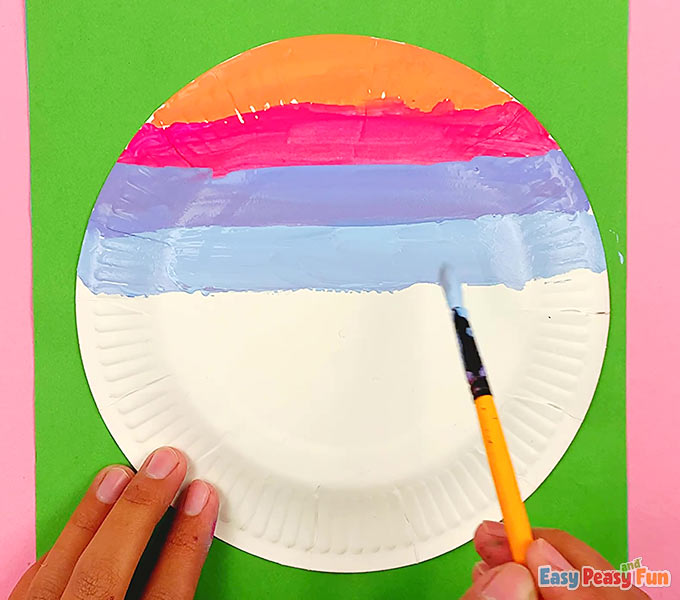
As soon as your children are pleased with how their paper plate (now egg) appears to be like, permit for the paint to dry.
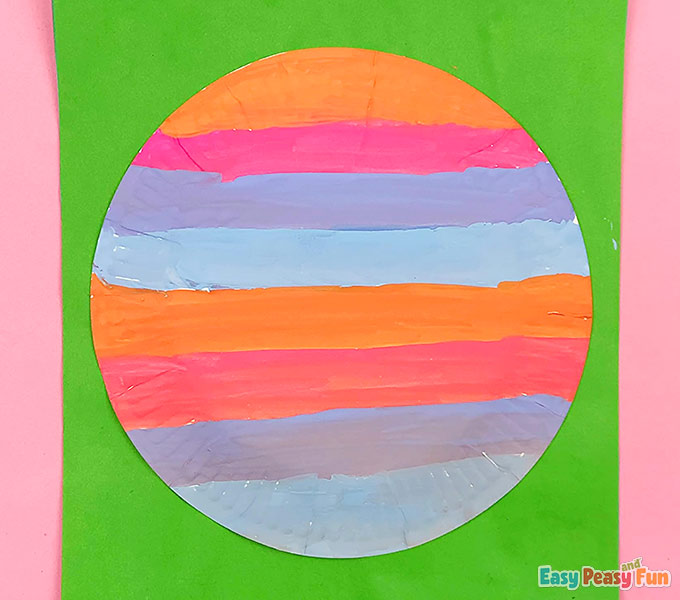
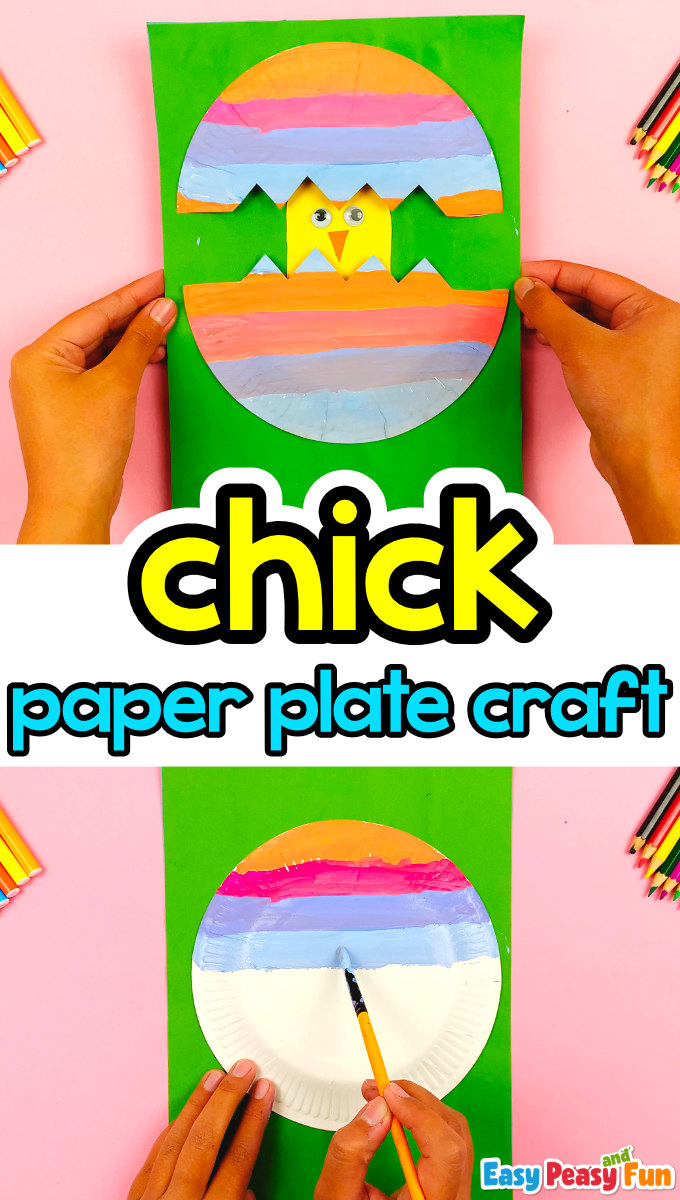
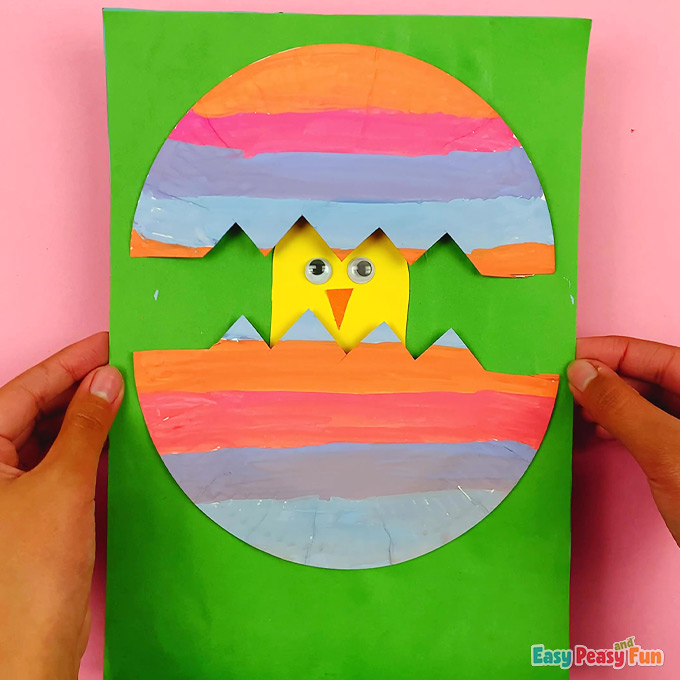
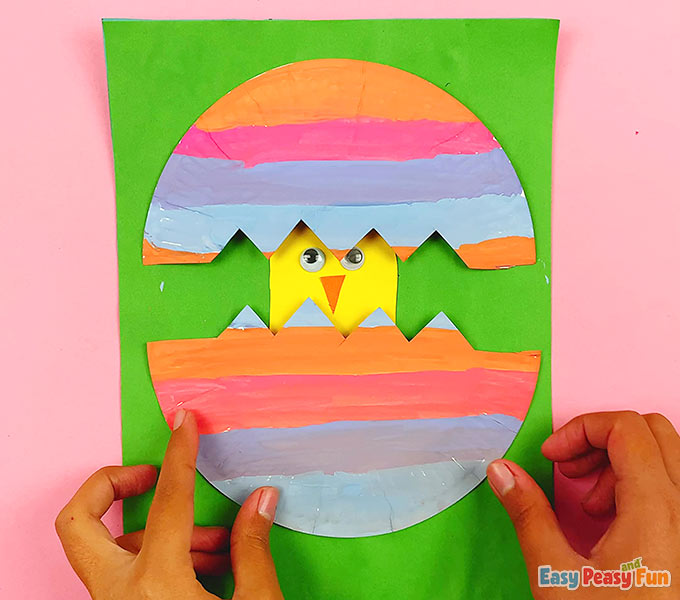
As soon as the paint has dried, have children seize scissors and punctiliously lower a zig-zag sample throughout the center of the paper plate.

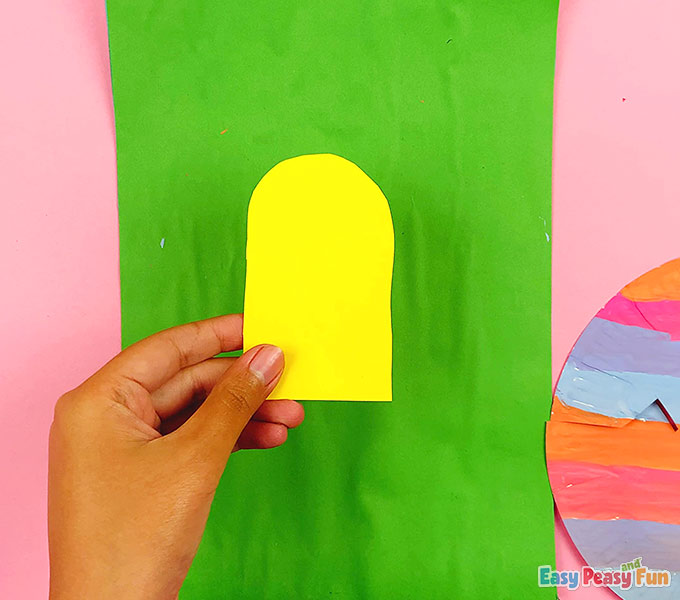
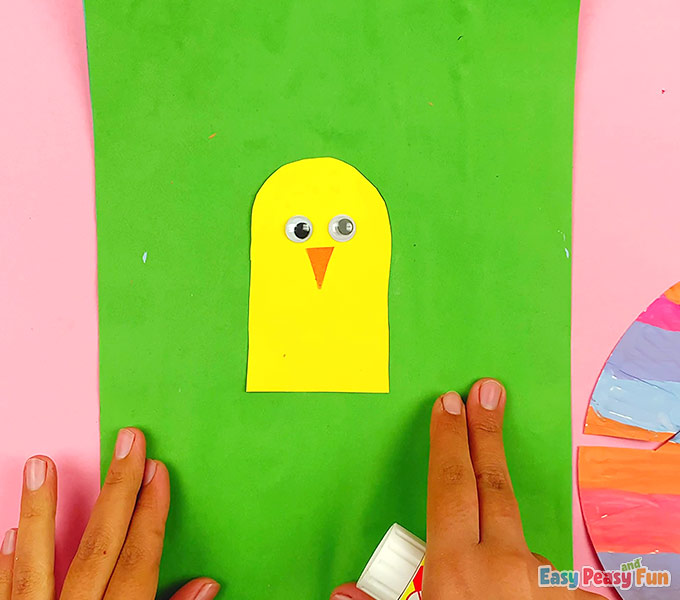
Now, it’s time to create the cute Easter chick!
Have your children lower out a rectangle from yellow paper and spherical two edges on the prime to type the chick’s physique.
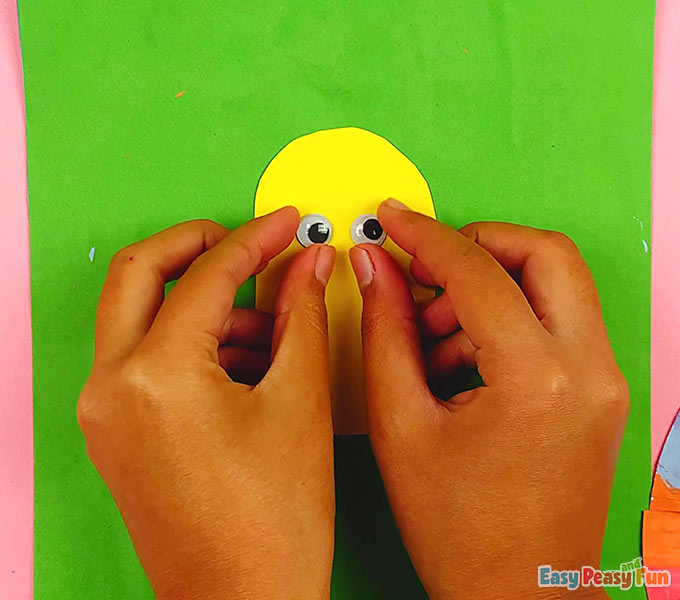
Glue on two googly eyes or googly eye stickers.
You can too draw the eyes.
Lower a small orange triangle to make the chick’s beak and glue it below the eyes.
Glue the chick on the background paper.
Have kids apply glue to the rounded edges of the paper plate halves.
Place the 2 halves of the paper plate over the chick, one above and one beneath.
Press down gently alongside the rounded elements of the paper plate for the glue to set.
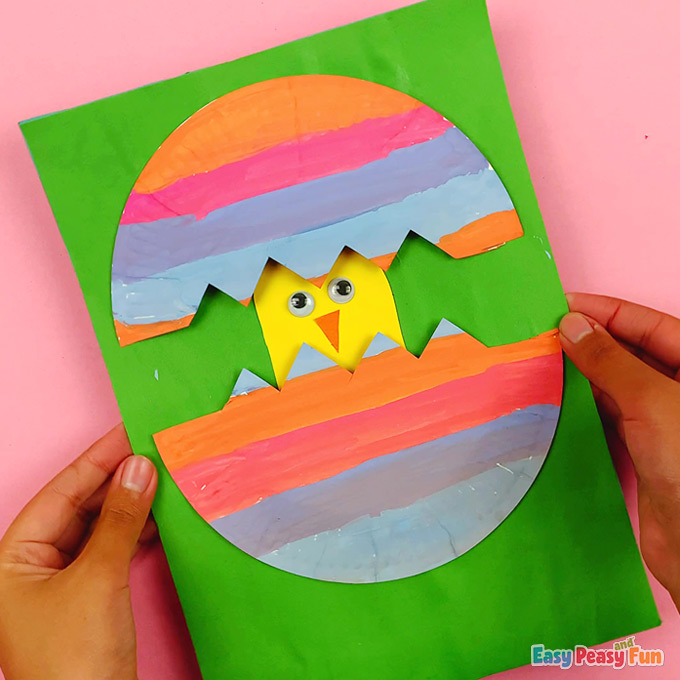
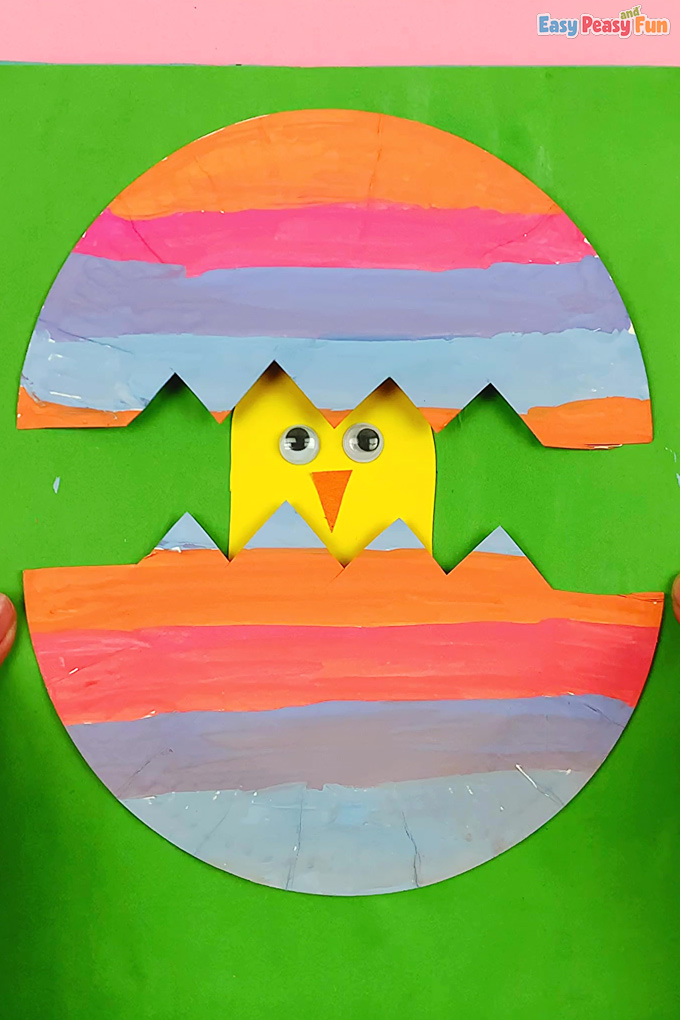
Your cute hatching chick paper plate craft is full!
Benefit from the inventive journey collectively, and keep tuned for extra enjoyable crafting adventures!
Comfortable crafting!
Need prompt entry to all of our printable crafts, actions, and assets?

With hundreds of crafts, actions, worksheets, coloring pages, and drawing tutorials to print, you’ll at all times have simply the useful resource you want at your disposal. Good for folks and academics alike!